
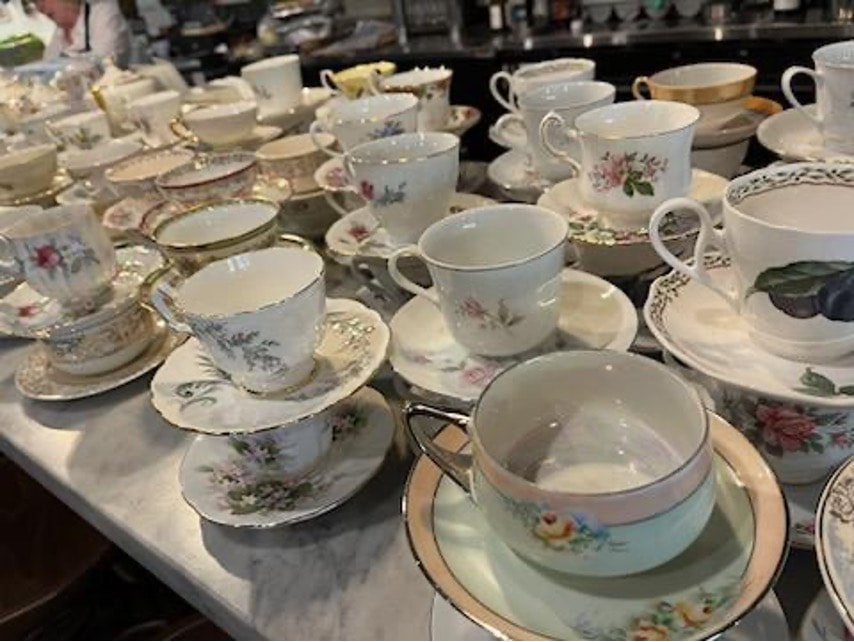
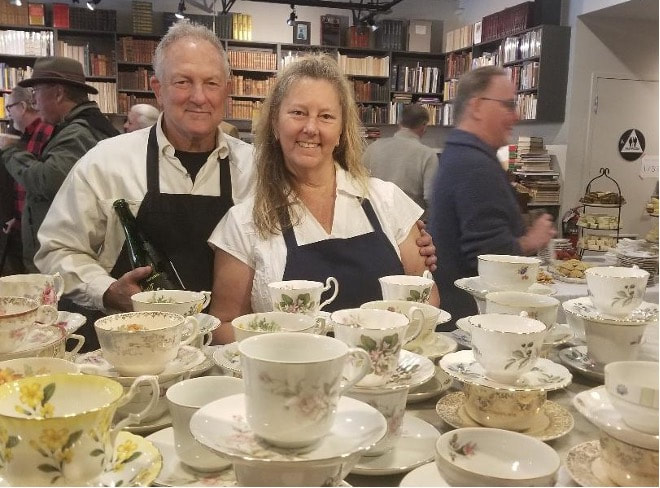
Working in historic bed and breakfast inns left deep impressions on both Suzi and me. We had always loved pretty things, white lace, gardens, silver, and china, but working in the charming Victorians, moving among the antiques and using the traditional table settings and linens firmly fixed the love of pretties in our hearts. Though afternoon tea flourished before Queen Victoria’s reign and after, the Victorian fondness for style and ornament produced silver, crystal, and dishware of exquisite elegance, and in copious quantities. So many vintage teacups, teapots, teaspoons, sugar tongs, lemon forks, tea strainers, and whatnots are still readily available at antique shops almost everywhere. Art nouveau and art deco have also contributed their esthetics to collectable decorative tea ware. It can be argued that lovely things have been always produced, though there are eras which I consider low points in design: I’m looking at you, 1970s.

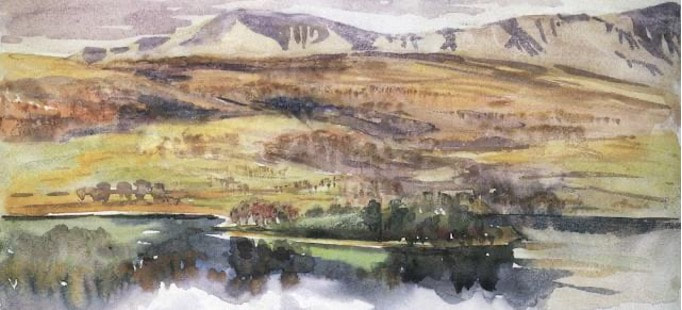
Above, a favorite oil painting by American John Singer Sargent, “Carnation, Lily, Lily, Rose” 1885-6 Tate Gallery, London. Below, my photograph from the 1980s, featuring our little girls, in their own field of flowers

How can you not love a crisp white nightgown or starched lace tablecloth? I suppose my point is that I love beauty, I want to live among it, create it, and share it. Even when I was a mopey, angsty teen, dressed in head-to-foot black, my bed was a souffle of delicate white cotton bedding and coverlet, with lacey pillows galore. I am definitely encouraging you all to embrace your artsy romantic side. Do go to museums, take bubble baths, dress up in that dress you bought just because you loved it, though you have “nowhere to wear it.” Life is too short to not have tea with your girlfriend or wander in a rose garden or comb the thrift stores for beautiful old things. Do it!
You know what is not romantic and life-affirming? The hellscape that is far Northern California in the summertime, ugh. 110°F anyone? Anyone? No. Longtime readers know that I usually don’t write my blog or bake much in the 5-month-long summer weather. I’ve heard there are folks who enjoy the heat, but I find it very difficult to understand their point of view.
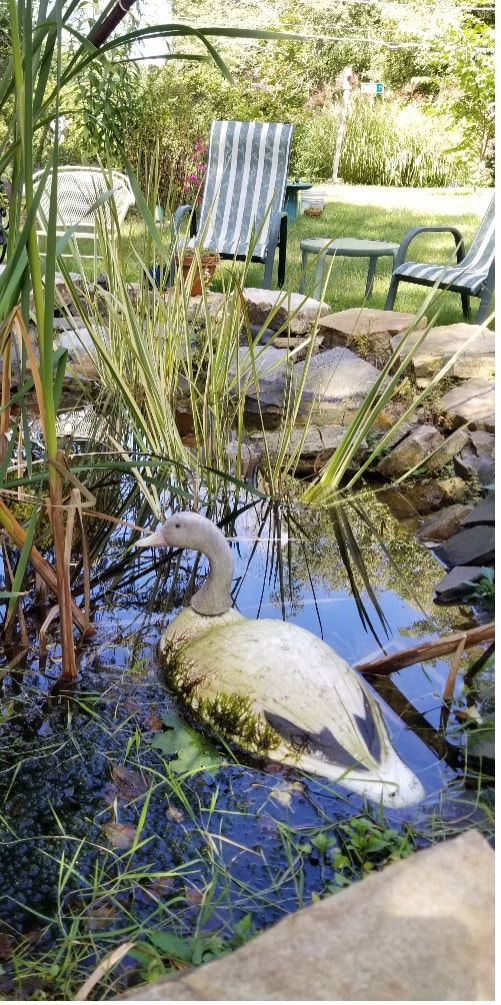
Luckily, Suzi has a lovely back garden with swimming pool and gazebo. This year she decided to drape the metal structure with long lace curtains on three sides, letting air flow through while keeping the sun out for a bit longer during the day. And to make it more lovely, of course!
 |  |
Above left: The gazebo, mid redecoration, with only 2 sides of lace curtains up, right: Suzi’s lace cap hydrangea
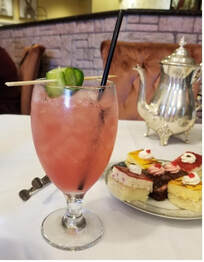
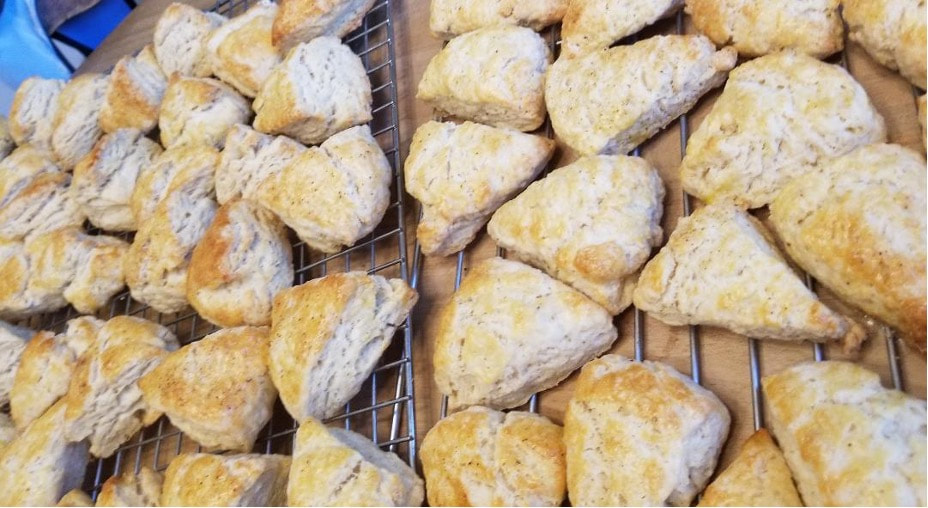
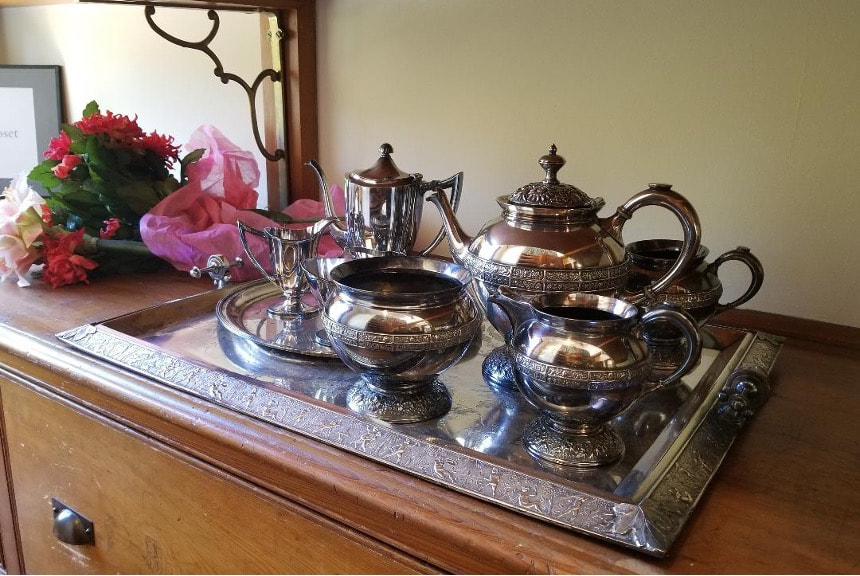
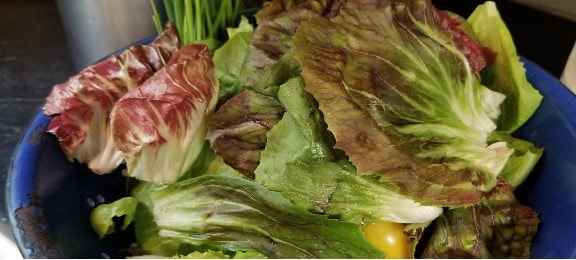
The patio sofa was a neutral tan color, but Suzi dug through her stash and found this rose patterned fabric, just tucking the fabric over the back pillows. You can’t go wrong with roses, in the garden or on fabric, as roses instantly up the pretty. She was very happy with the new gazebo décor and invited me over for an early morning tea for two. I brought maple scones and my Laura Ashley “Alice” tea set.

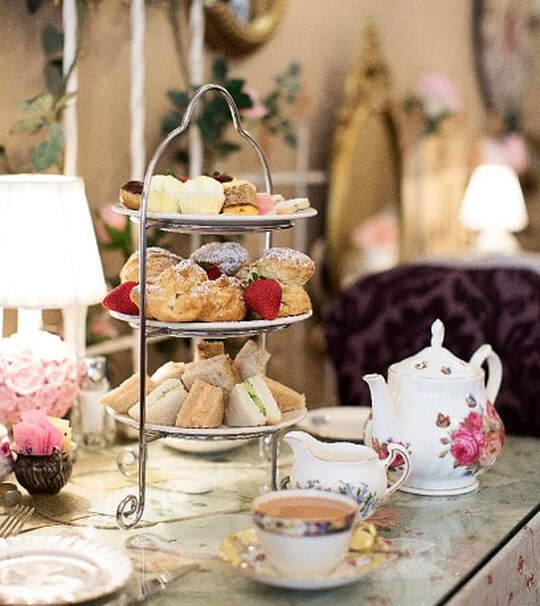
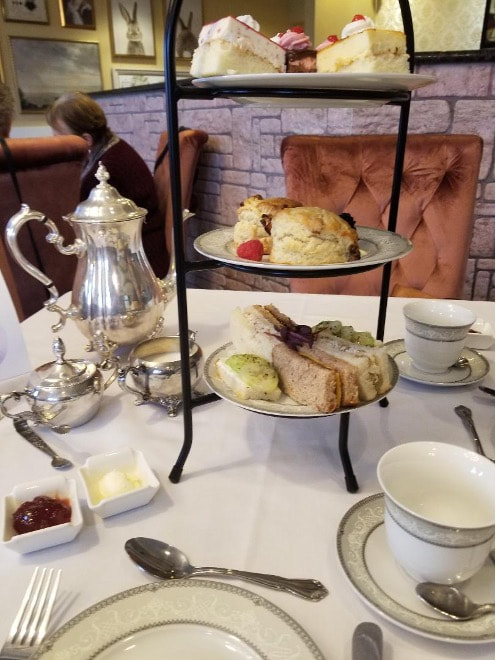
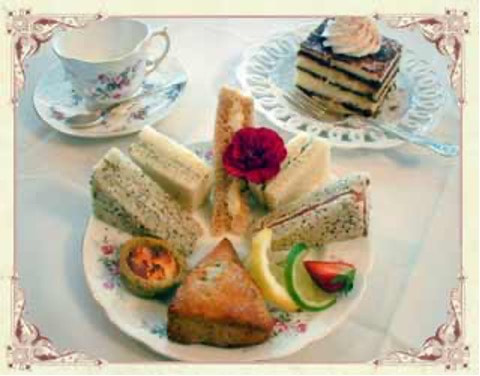
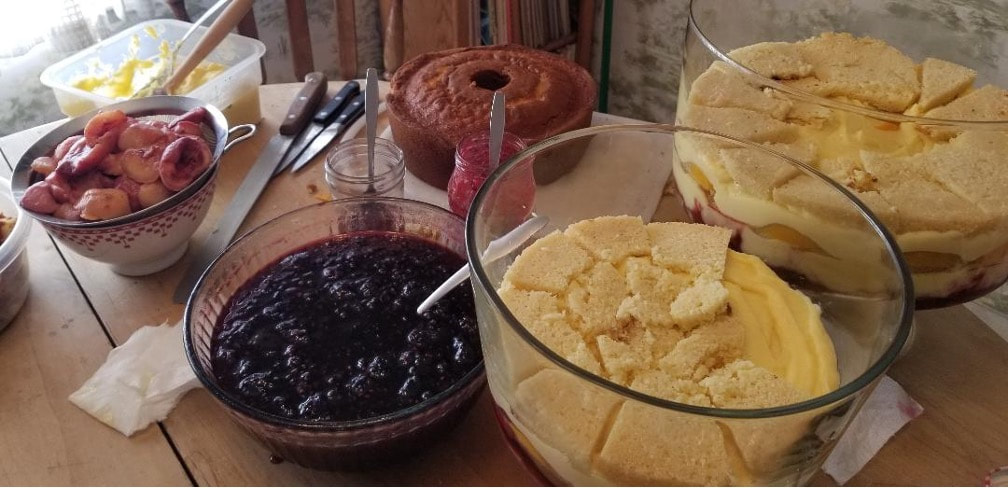
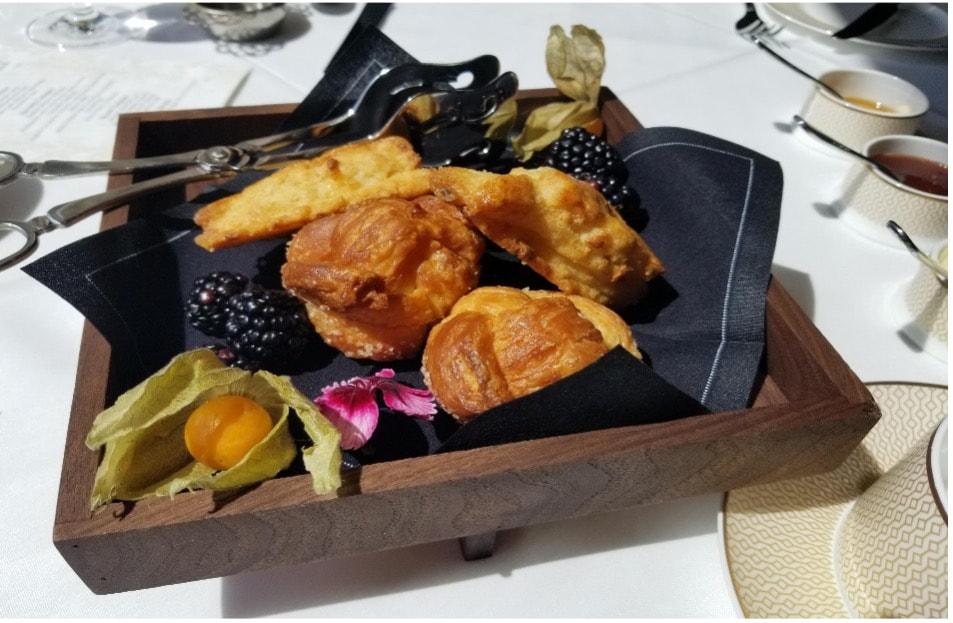
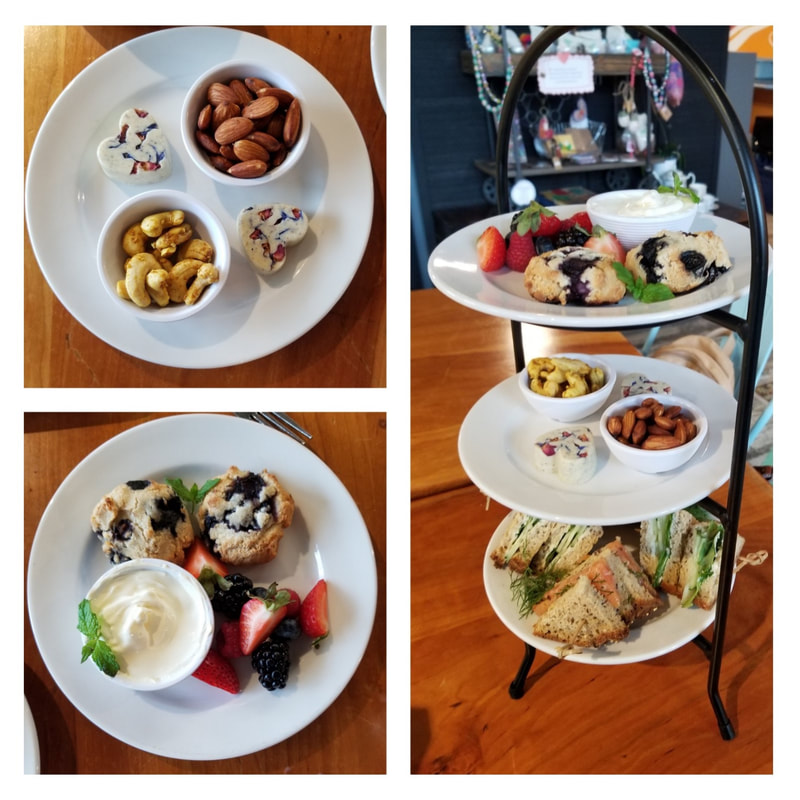
Above: the tea tray set with daisy napkins, fresh fruit, and scones
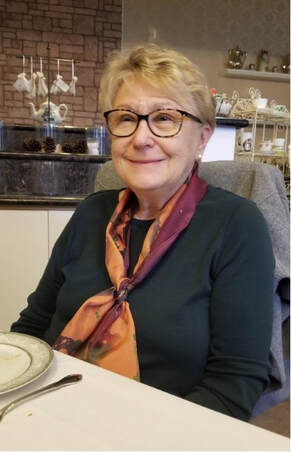
Below: Suzi on the rosy sofa with the lace curtains blowing in from the side
Below: Suzi on the rosy sofa with the lace curtains blowing in from the side


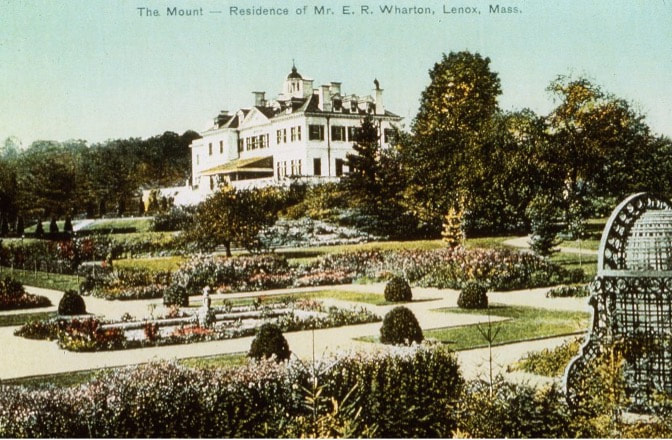
 | Above: Suzi in white cotton, bringing the tea tray to the newly lacy gazebo. Left: My favorite maple extract from Baldwin Extracts, in the Berkshires, with which Louise is nice enough to keep me stocked. |
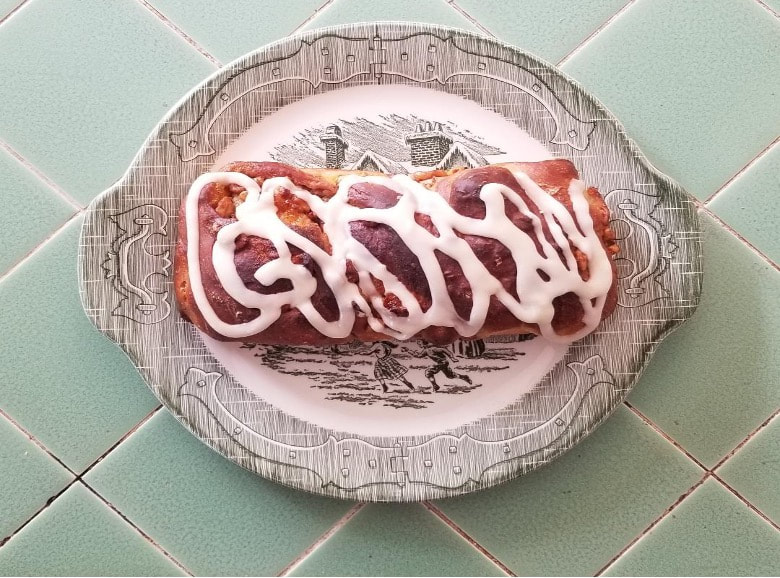
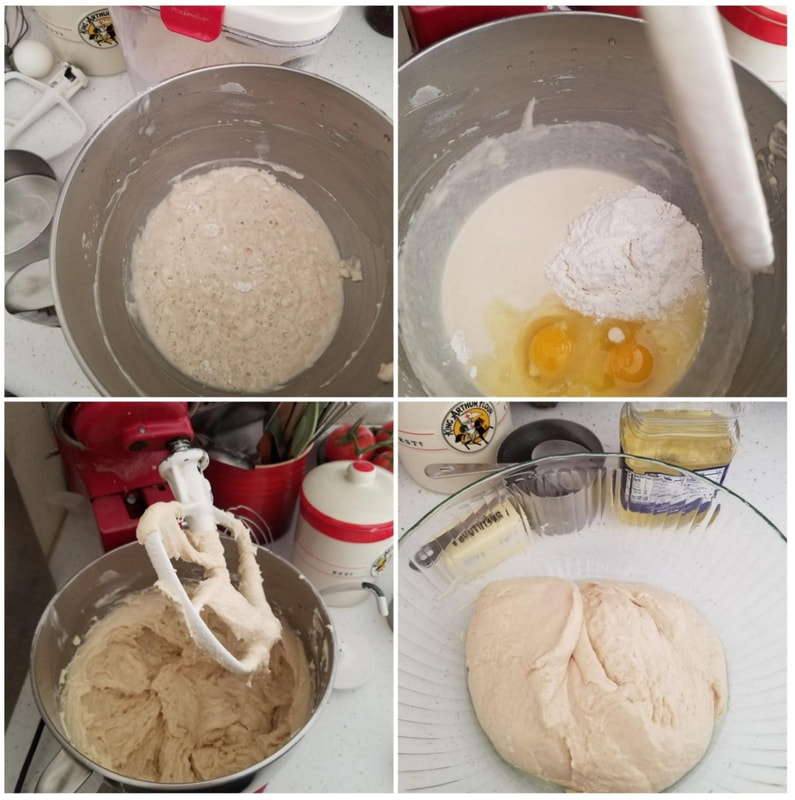
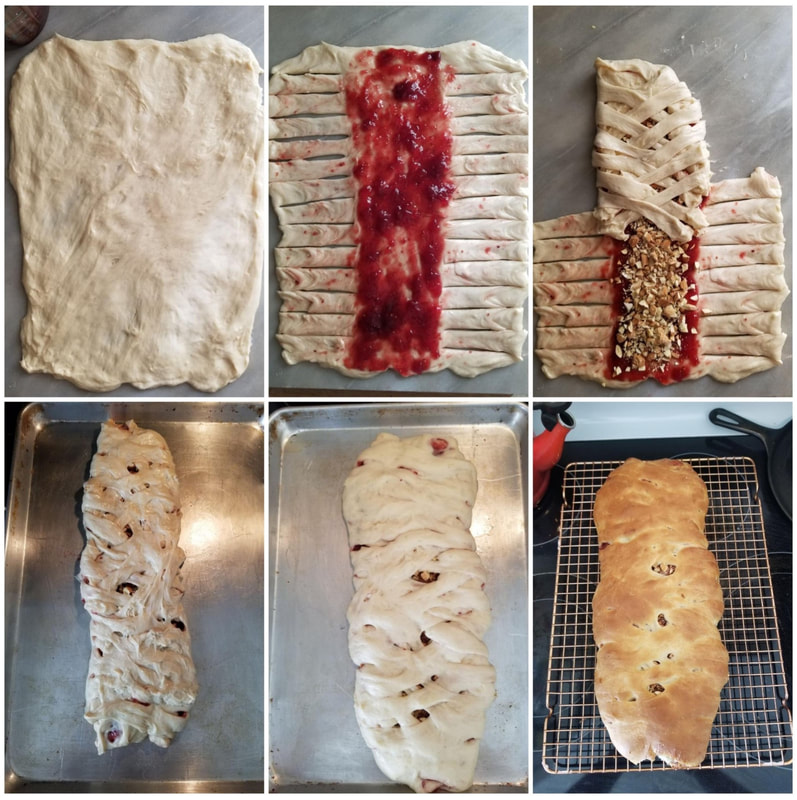
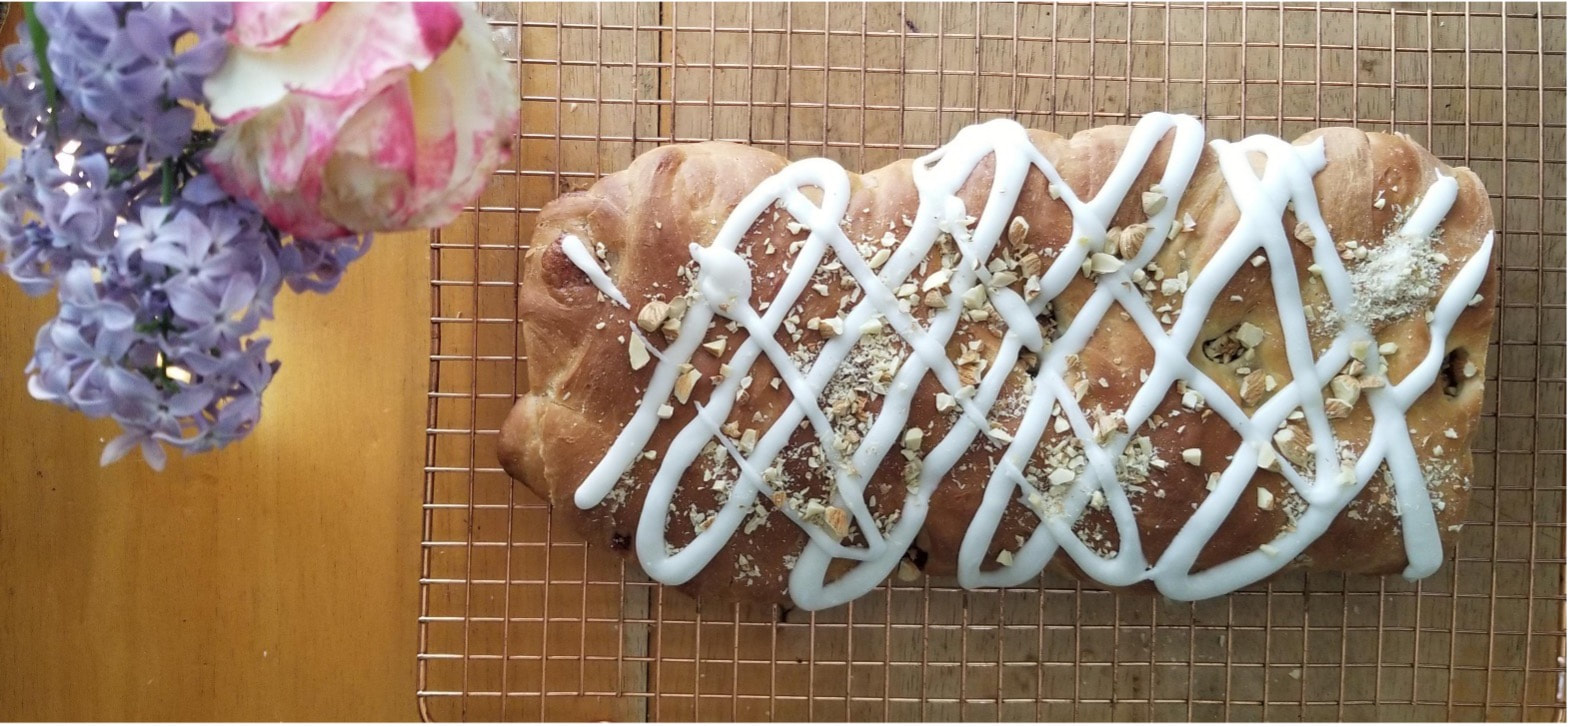
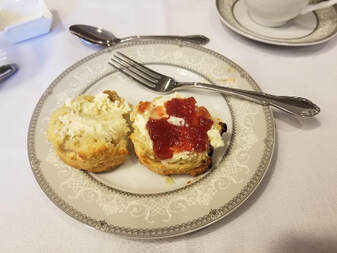
These maple scones are a variation of the Maple Pecan Scones recipe from our book, Sharing Tea: The Road Back to Civilization. This variation adds a full teaspoon of maple extract and adds a thick drizzle of glaze which is simply the good Baldwin maple extract stirred into powdered sugar, thinned with milk to make a pourable consistency.
We beat the heat of the day by having our tea party at 6 a.m.; waking up early is the other thing about working in bed and breakfasts that never leaves you. I consider it a pretty good trade. Even in the heat and far from our beloved coastal fog, we find a way to celebrate friendship with tea and scones. Stay cool, everyone!


 RSS Feed