 | 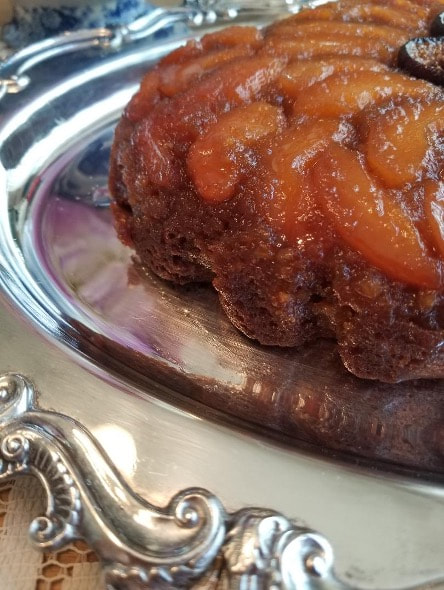 |
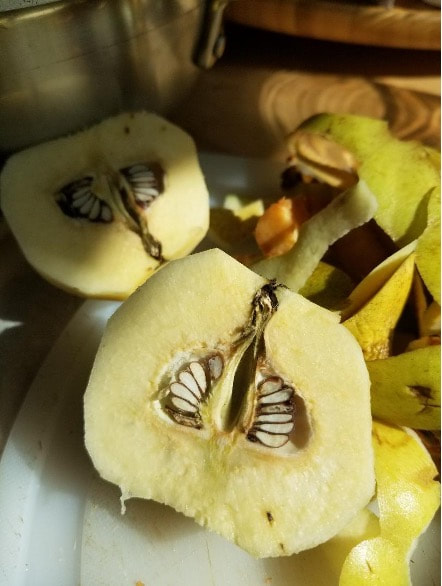
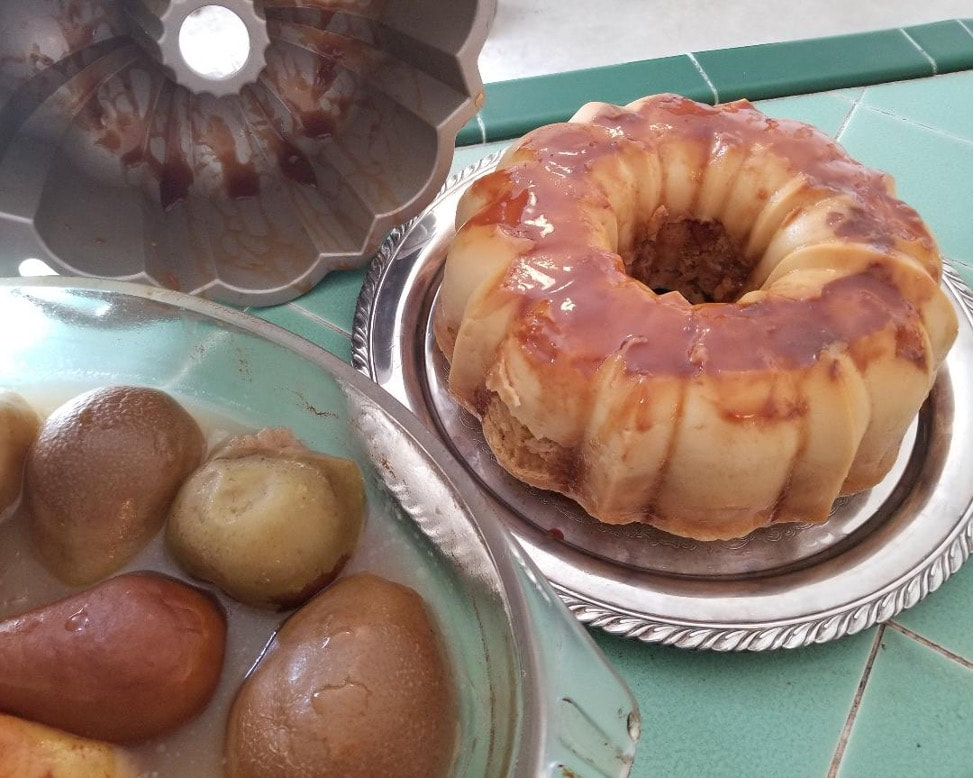
Quince anatomy revealed and a detail of the caramelized edged of the quince and fig upside down cake.
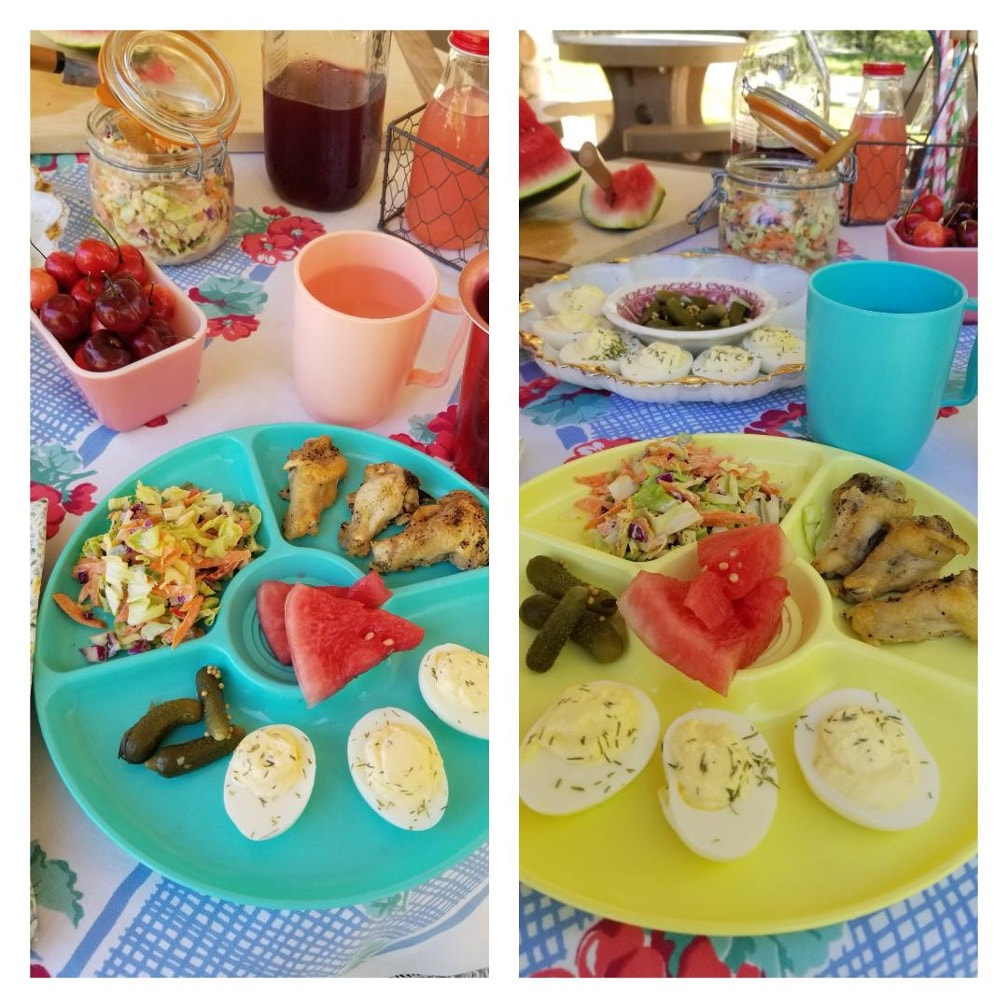
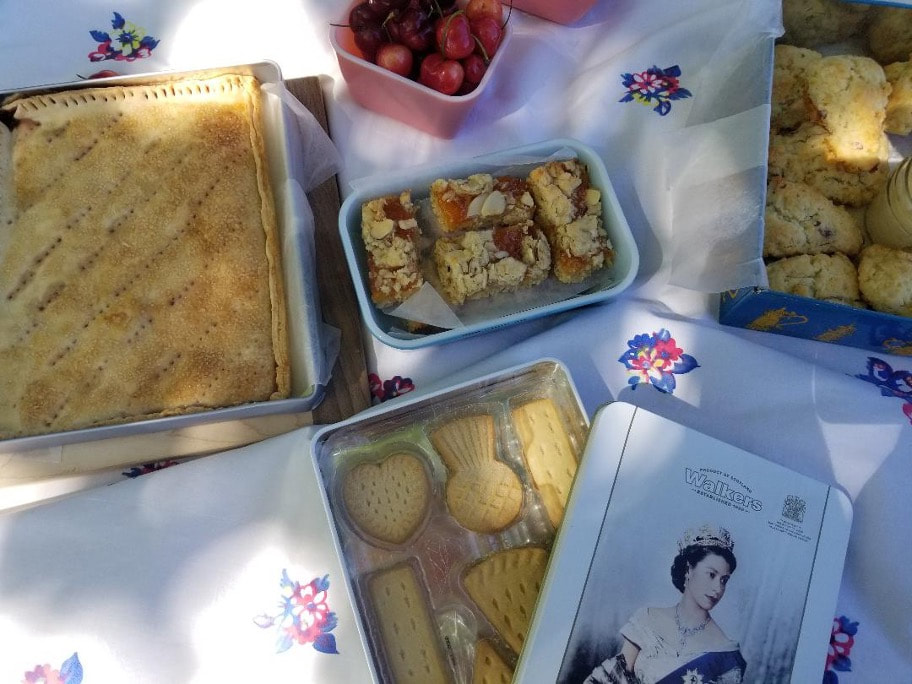
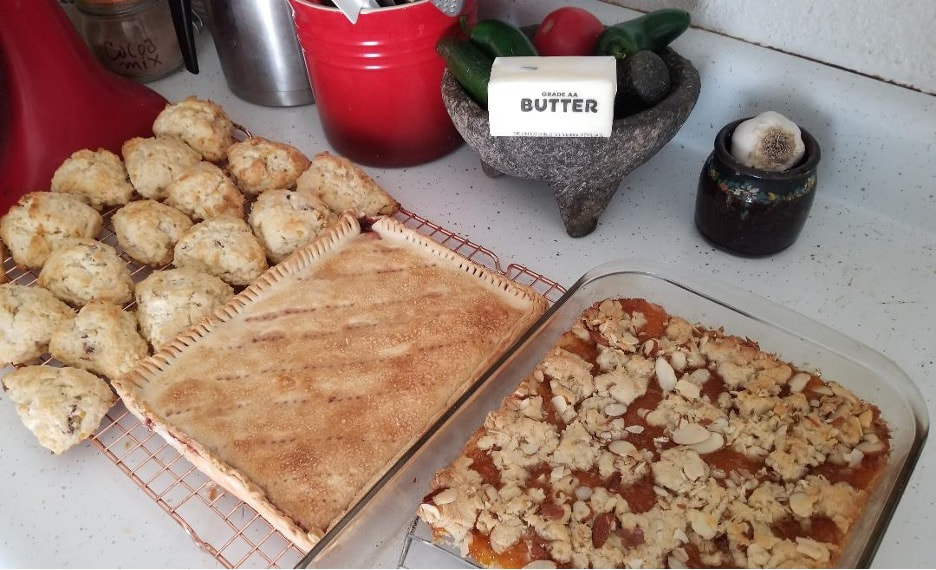
My Cakes & Tea blog morphs into the Cake & Fruit & Tea blog in the fall. How much fruit can I pack into a cake? How many varieties of fruit are accumulating on the kitchen counter, waiting to be picked in the yard, or are gifted from talented gardener friends? I’m never sure of the answer, but it is a lot and count me in for all of it.
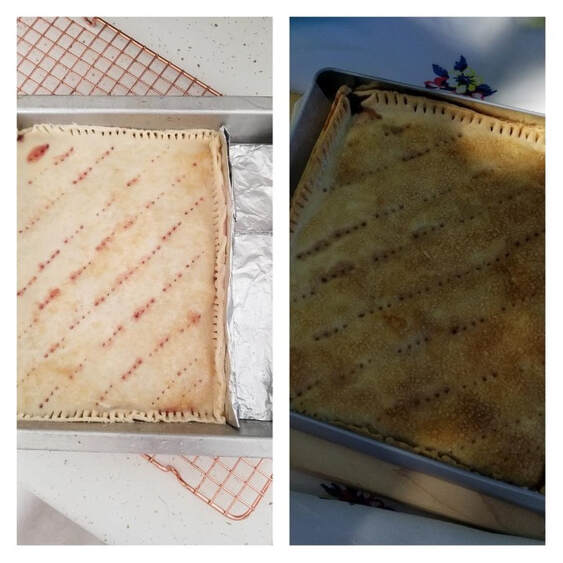
A fresh fruit upside down 13” x 9” cake is a great dessert for fall gatherings, looking festive and impressive while feeding a crowd. Best made the day you plan to serve it, it makes good snacking the next day. Once you get comfortable flipping the rectangular cake out onto a platter, these impressive cakes will become favorites for entertaining. An uncut upside-down cake makes an enticing, seasonally appropriate centerpiece on the buffet.
The key to unmolding a large upside-down cake is lining your pan with parchment paper. I lightly spray the parchment paper with baking spray then add the melted butter and brown sugar. I tested several rectangular and oval cakes, all lined with parchment, and each one turned out of the pan perfectly.
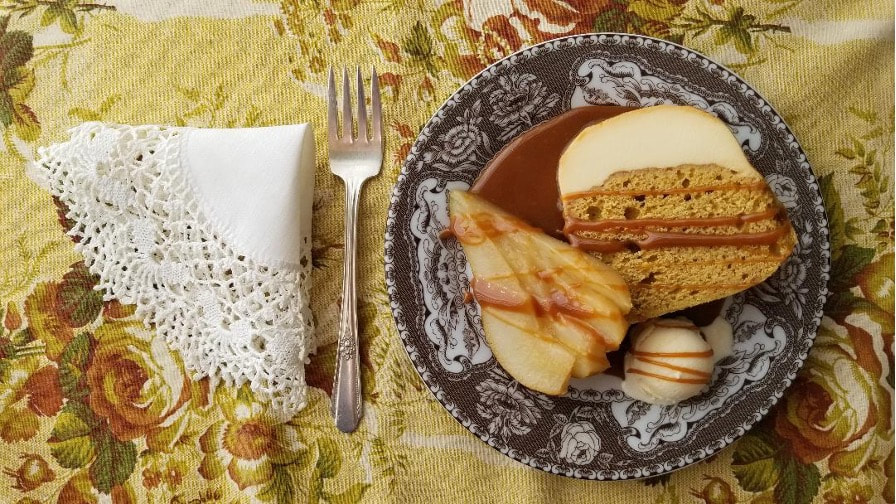
Upside down cake, showing red bartlett pears stuffed with a walnut half. Each serving has a pear half.
Flavoring the cake batters with spices such as cinnamon, cardamom, mace, and nutmeg, I chose sturdy butter cakes that would stand up to the weight and added moisture of the fruit. Use your favorite gingerbread cake recipe or search among the many gingerbread recipes on our website, www.myteaplanner.com Boxed spice cake mixes work well when livened up by adding more spices from your spice cupboard.
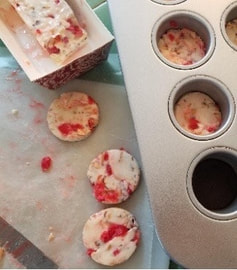
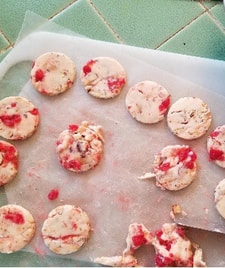
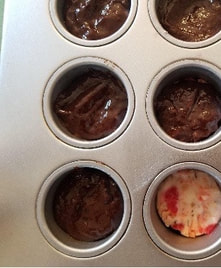
I tested one flavor combination which I did not like; a banana cake batter proved just too sweet and sort of distracting when baked with white figs, an apricot-plum hybrid, and raspberries. It was a very pretty combination, like a colorful mosaic, but simply too sweet. Alas, they can’t all be winners.
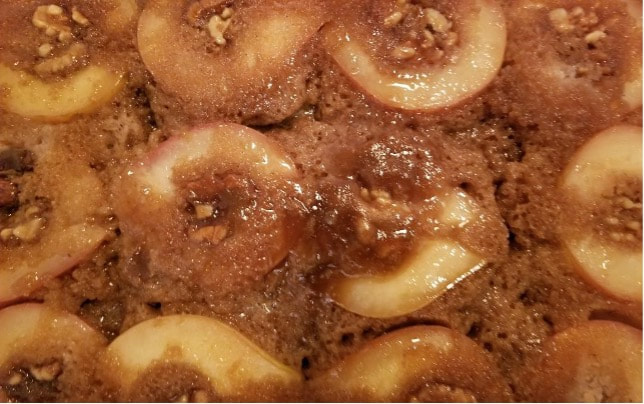
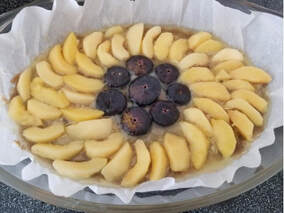
An old favorite 13” x 9” oatmeal cake recipe baked up perfectly, supporting tiny figs and poached quince slices. Apples and pears would both be delicious with the subtle oatmeal cake. Coring and slicing apples into rings would be pretty and would give you an opportunity to punctuate each center with a hazelnut, sliced almond or pecan half. I am always trying to get more nuts into my baked goods, especially in autumn, when fresh nuts are harvested.
Tea for One
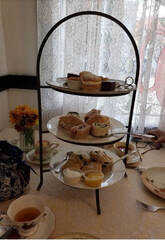
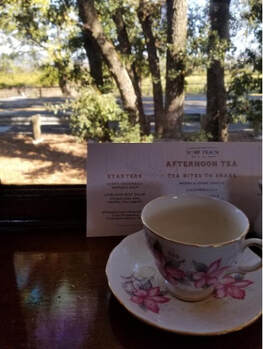
As much as I love being in the kitchen baking, I also need time alone in the studio. Rose and I both practice the daily ritual of stopping our activities and sitting down with a cup of hot tea. Even on hot, busy days, I boil water for my tea, steep, pour, sit, and sip for several minutes. I usually drink my tea in the livingroom, comfy on the couch, but I recently invested in an electric kettle which has taken up residence in my barn studio.
In the quiet studio, nothing prevents me from being present and appreciative for the rest and replenishment of tea time. In our book, Sharing Tea, The Road Back to Civiliazation, we celebrate the importance of tea for one. Rose and I both write about our daily tea times, and you can read a bit about it here: Tea for One. After baking the test cakes, I brought a piece out to tea time in the studio.
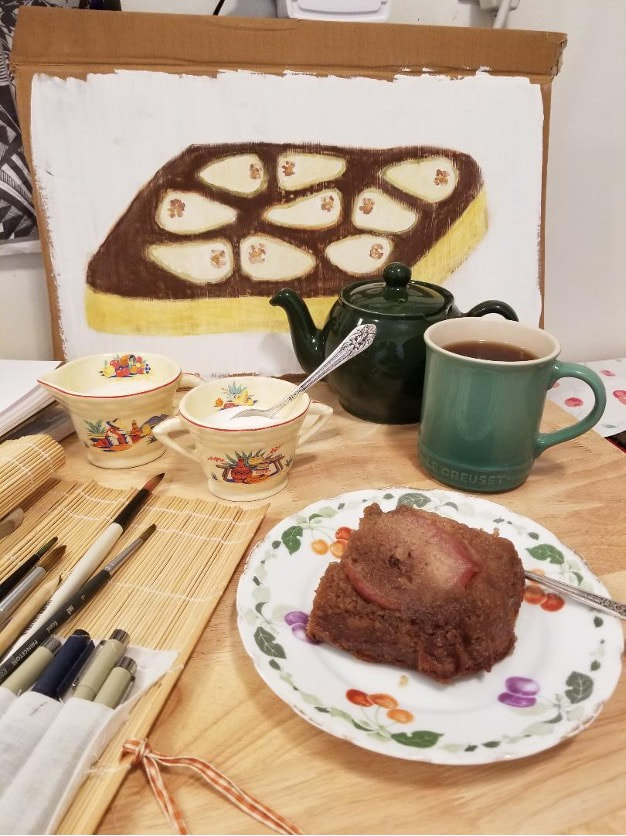
Before I baked the pear upside-down cake, I painted my idea for it on some cardboard. I like that the red skin of the bartlett pears shows in the real cake while my imaginary pears were green-skinned.

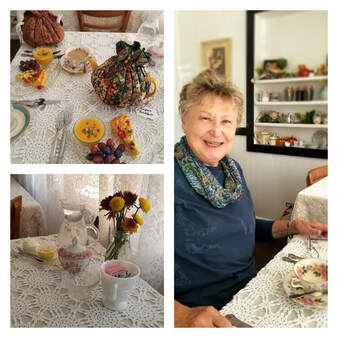
The old trug basket doubles as a tea tray, in front of the “Nun’s Bed” my Murdock grandparents bought in the 1960s, from an antiques dealer in the southwest who said it was about a 100 years old back then.

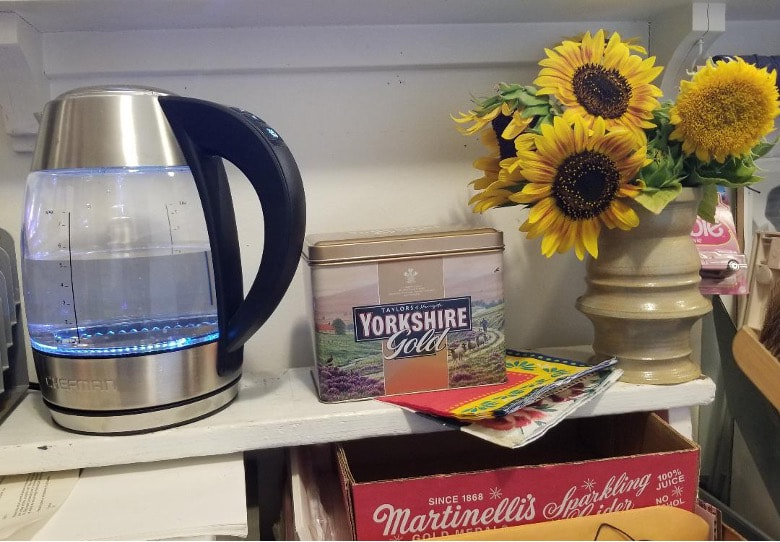
The studio tea station
 |  |
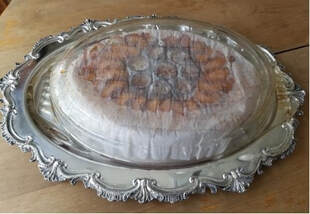 | 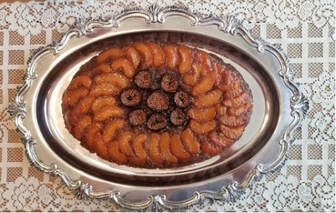 |
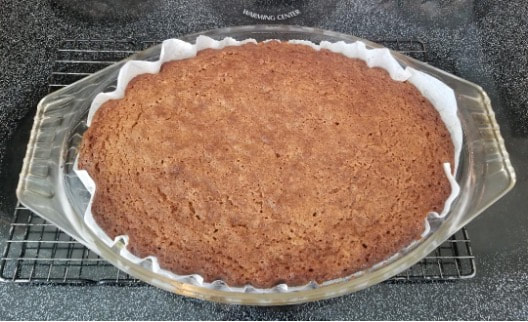
Clockwise from top left: Poached quince wedges and small fig halves arranged over melted butter and brown sugar in parchment-lined oval baking dish, cake cooling on rack, cake turned out onto my parents’ wedding silver platter, and baking dish resting on just turned out cake.
Autumn Fruit Oatmeal Upside-Down Cake
Feel free to swap out this cake for gingerbread or boxed spice cake mix. Personalize with the autumn fruit that is abundant in your area. At the end of the recipe, I tell you how to prepare the fruits that I used and give an almond variation. Happy fall!
Preheat oven to 350◦F.
Makes one 13” x 9” cake, serves 12-20
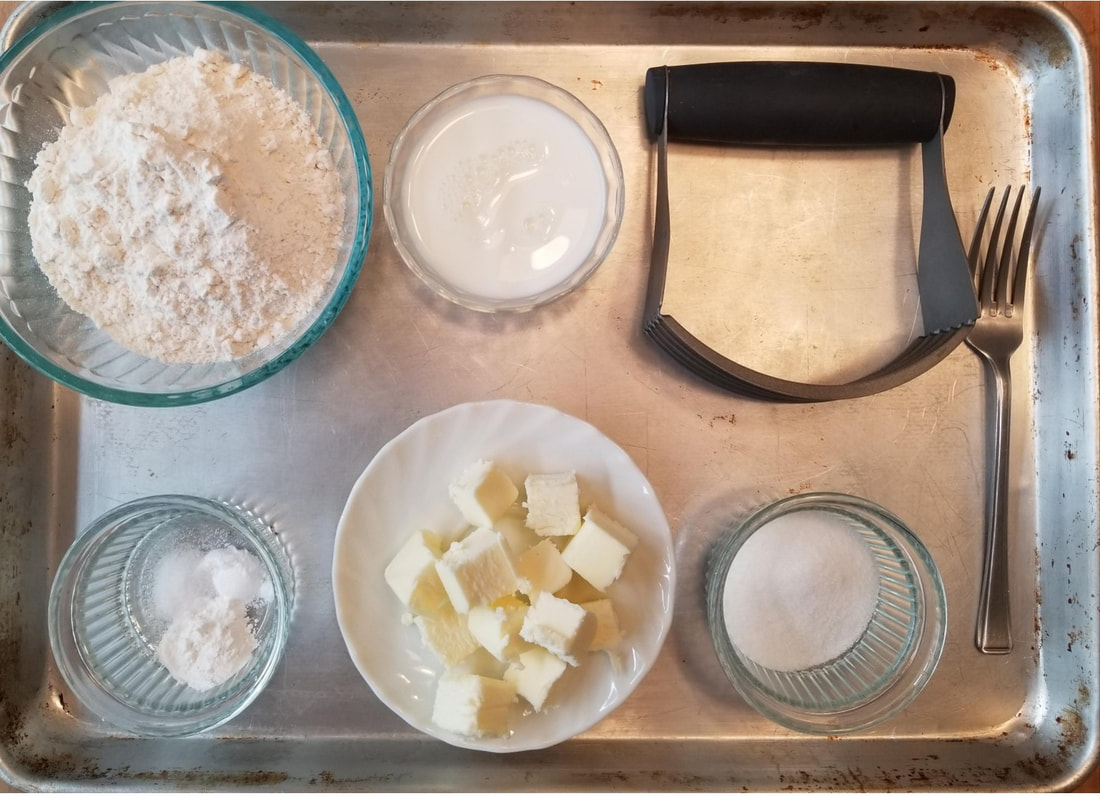
Special equipment: 13” x 9” cake pan, lined with parchment paper and sprayed with baking spray, heatproof medium sized bowl, wooden spoon, mixer bowl, silicone spatula, sifter or sieve, cooling rack, platter.
Prepared fruit*
1 ¼ cups hot water
1 cup old fashioned or quick oatmeal
¾ cup brown sugar, packed
½ cup (1 stick) butter, melted
Optional: walnut halves, whole hazelnuts, or almond slices
1 cup (2 sticks) butter, softened
1 cup granulated sugar
½ cup brown sugar, packed
2 eggs
1 ½ cups flour
1 teaspoon baking soda
1 teaspoon salt
1 teaspoon cinnamon
*To prepare fruit
Apples: 5-6 apples, peeled and cored then sliced into rings, slices, or wedges. If preparing apples in advance, toss with lemon juice to keep from discoloring.
Pears: Depending on size of pears, buy 6-10. If using small pear halves, they can be peeled or left with skins on. In either case, core with a melon baller or cookie scoop. With a sharp knife, remove any woody or stringy parts along the stem ends. Pears can be peeled, cored, and sliced, if desired. If preparing pears in advance, toss with lemon juice to keep from discoloring.
Figs: Figs vary in size, so buy more than you think might need. Remove stems and peel lightly, if desired. Slice larger figs into ¼” thick slices. Smaller figs can be cut in half, like a pear.
Quince: 5-6 quince, depending on size. Wash thoroughly and pat dry. Cut off top and bottom. Peel and cut in half. Quinces have a much wider seed core than apples so be sure to remove all the seeds and hard parts in center of quince. Slice into wedges or slices. I parboiled my quince wedges in apple cider for about 5 minutes, then drained and cooled. Skip this step if using thinner slices.
(Adjust quantities if using different sizes or when mixing fruits.)
Pear Almond Variation: If you have some almond paste laying around, knead small pieces into balls the size of the cored pear halves, pressing one ball into each pear half. Press a sliced almond into the almond paste. Place pear halves, cut side down, in prepared pan. Sprinkle with amaretto liqueur after cake has been turned out of pan.
Preheat oven to 350◦F.
Makes one 13” x 9” cake, serves 12-20
Special equipment: 13” x 9” cake pan, lined with parchment paper and sprayed with baking spray, heatproof medium sized bowl, wooden spoon, mixer bowl, silicone spatula, sifter or sieve, cooling rack, platter.
Prepared fruit*
1 ¼ cups hot water
1 cup old fashioned or quick oatmeal
¾ cup brown sugar, packed
½ cup (1 stick) butter, melted
Optional: walnut halves, whole hazelnuts, or almond slices
1 cup (2 sticks) butter, softened
1 cup granulated sugar
½ cup brown sugar, packed
2 eggs
1 ½ cups flour
1 teaspoon baking soda
1 teaspoon salt
1 teaspoon cinnamon
- Prepare fruit*
- In heatproof bowl, stir oatmeal into hot water with wooden spoon. Set aside to cool.
- Pour melted butter into prepared pan. Sprinkle ¾ cup brown sugar over butter. Lay out prepared fruit in an attractive pattern, covering entire bottom of pan. Use optional nuts to decorate fruit. Set aside while making the cake batter.
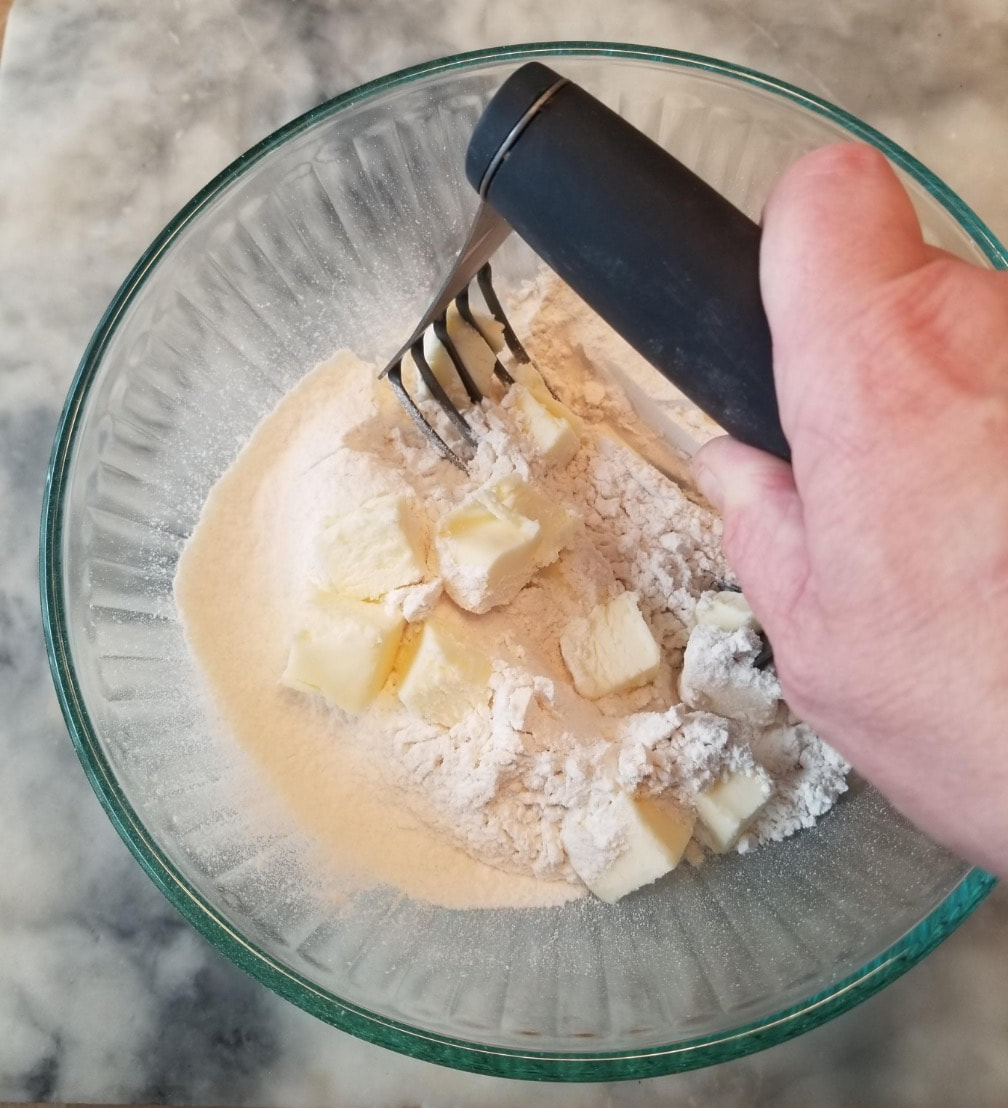
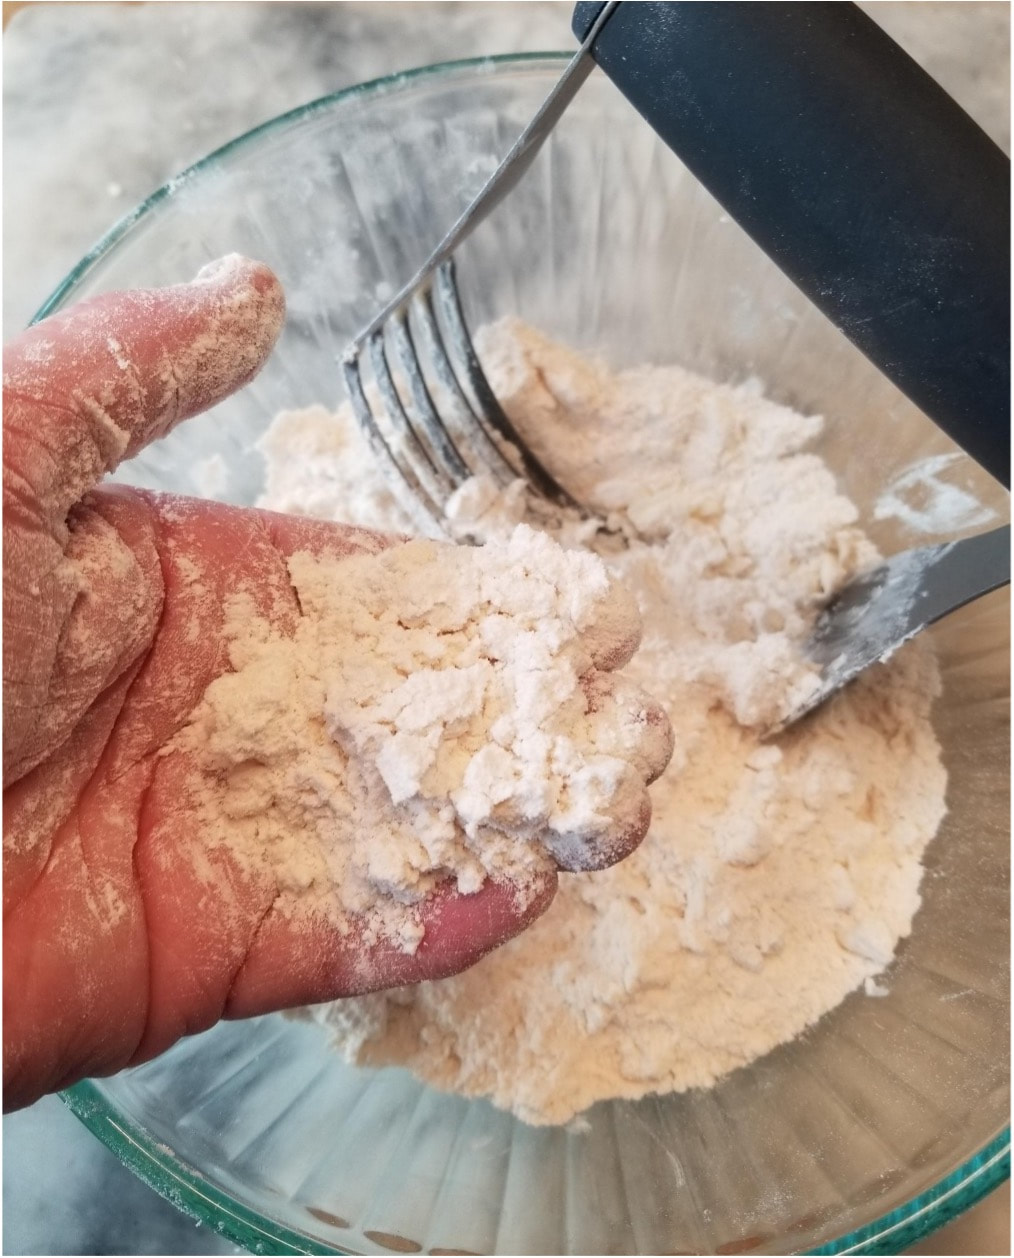
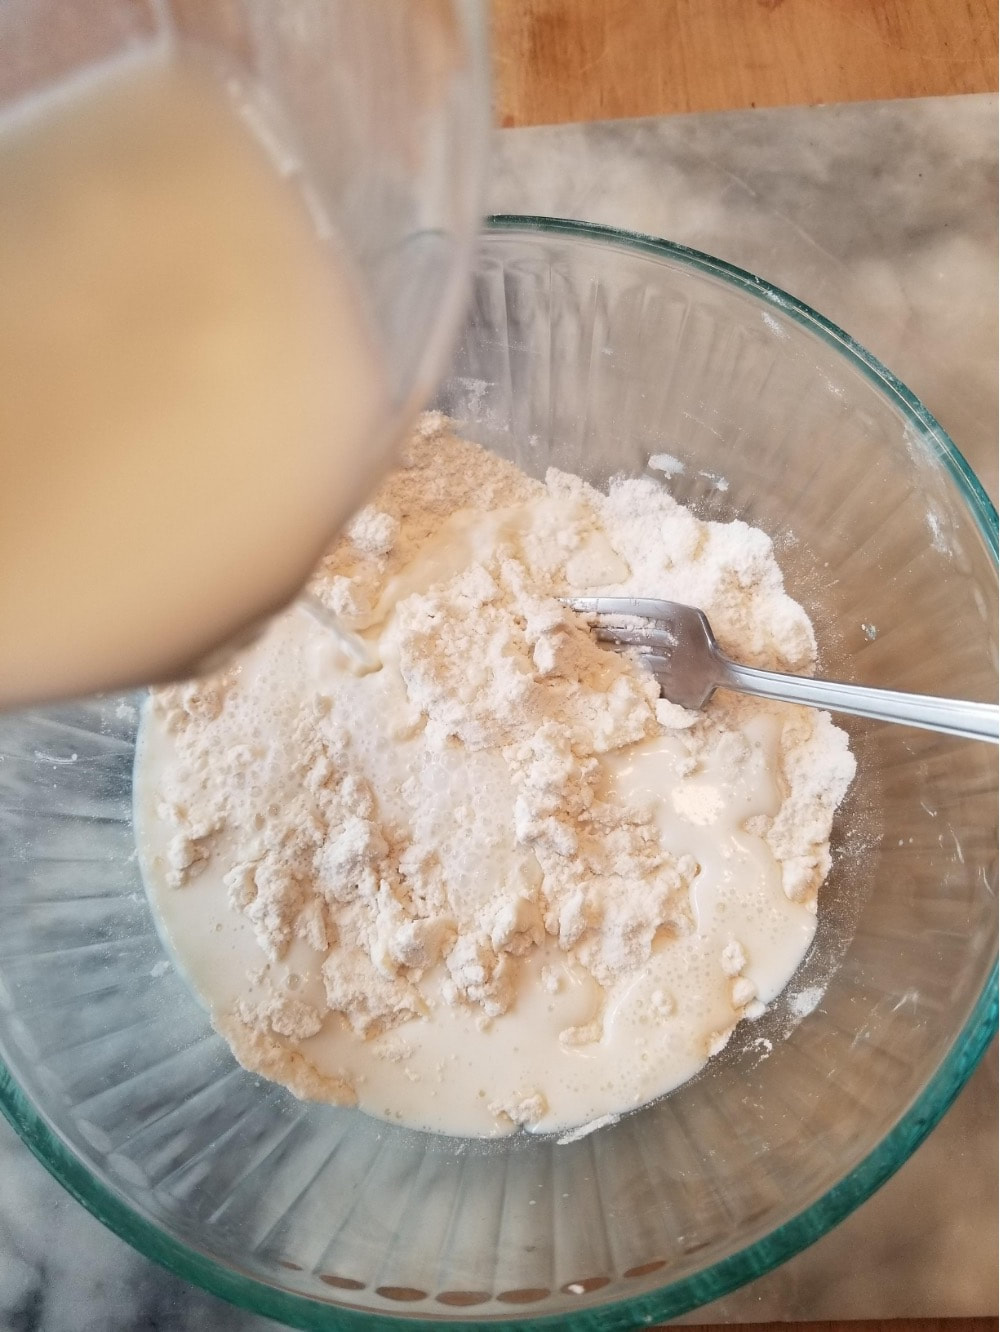
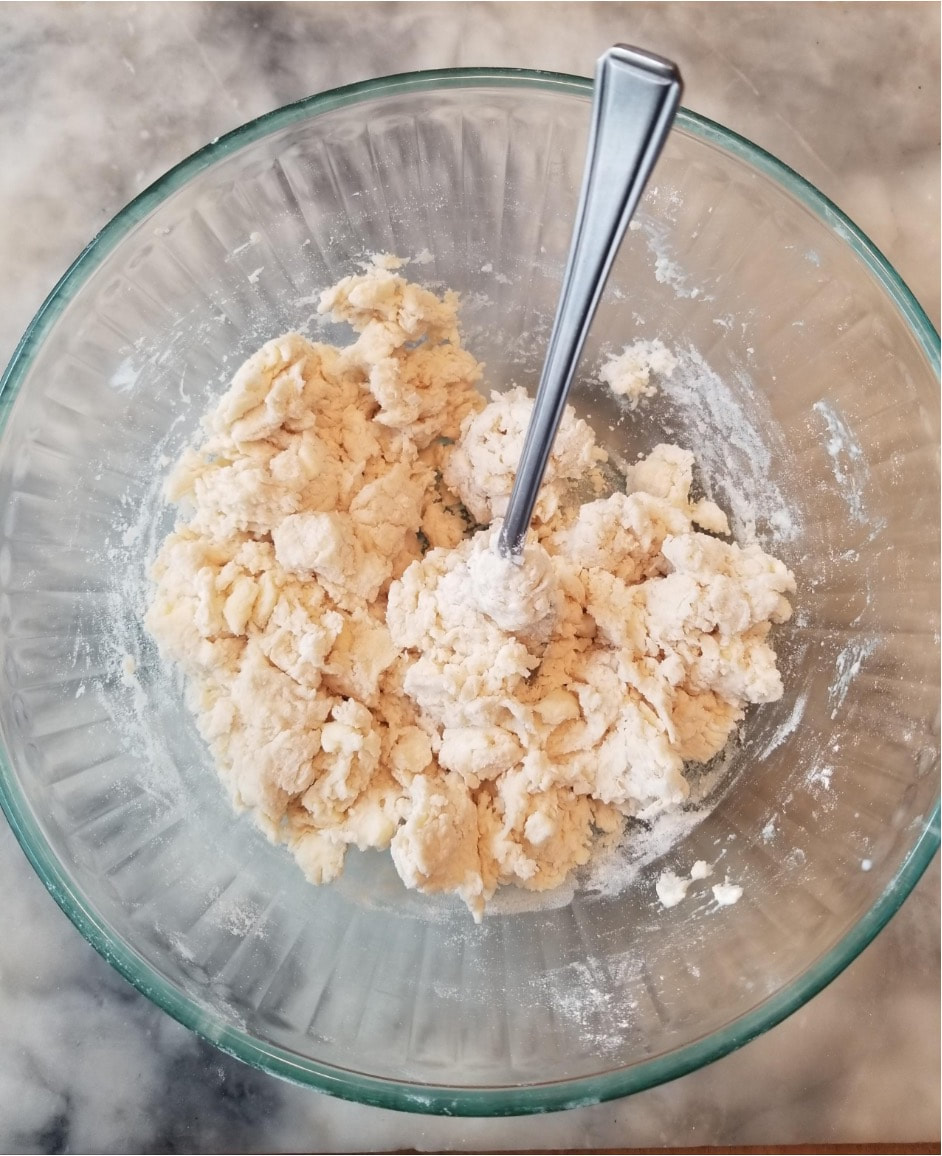
- In mixer bowl, beat together 1 cup softened butter, granulated sugar, and ½ cup brown sugar, scraping down bowl as needed. Beat until combined, 1 or 2 minutes. Beat in eggs. Stir in oatmeal mixture. Sift flour, baking soda, salt, and cinnamon over butter and sugar mixture. Stir just until no more flour is visible. Finish stirring with spatula, making sure all is combined.
- Spread batter over fruit, careful not to disturb fruit design.
- Bake in preheated oven for 50-60 minutes, until tester comes clean from center of cake and top feels firm when gently pressing top. Let cool on rack for 5-10 minutes.
- Place serving platter over top of cake. Keeping cake pan and platter firmly together, with potholders, turn over and remove pan from cake. Peel off and discard parchment paper. Let cool until barely warm or completely cool. Best served the day it is made but can be kept covered and chilled for an additional day or two.
*To prepare fruit
Apples: 5-6 apples, peeled and cored then sliced into rings, slices, or wedges. If preparing apples in advance, toss with lemon juice to keep from discoloring.
Pears: Depending on size of pears, buy 6-10. If using small pear halves, they can be peeled or left with skins on. In either case, core with a melon baller or cookie scoop. With a sharp knife, remove any woody or stringy parts along the stem ends. Pears can be peeled, cored, and sliced, if desired. If preparing pears in advance, toss with lemon juice to keep from discoloring.
Figs: Figs vary in size, so buy more than you think might need. Remove stems and peel lightly, if desired. Slice larger figs into ¼” thick slices. Smaller figs can be cut in half, like a pear.
Quince: 5-6 quince, depending on size. Wash thoroughly and pat dry. Cut off top and bottom. Peel and cut in half. Quinces have a much wider seed core than apples so be sure to remove all the seeds and hard parts in center of quince. Slice into wedges or slices. I parboiled my quince wedges in apple cider for about 5 minutes, then drained and cooled. Skip this step if using thinner slices.
(Adjust quantities if using different sizes or when mixing fruits.)
Pear Almond Variation: If you have some almond paste laying around, knead small pieces into balls the size of the cored pear halves, pressing one ball into each pear half. Press a sliced almond into the almond paste. Place pear halves, cut side down, in prepared pan. Sprinkle with amaretto liqueur after cake has been turned out of pan.
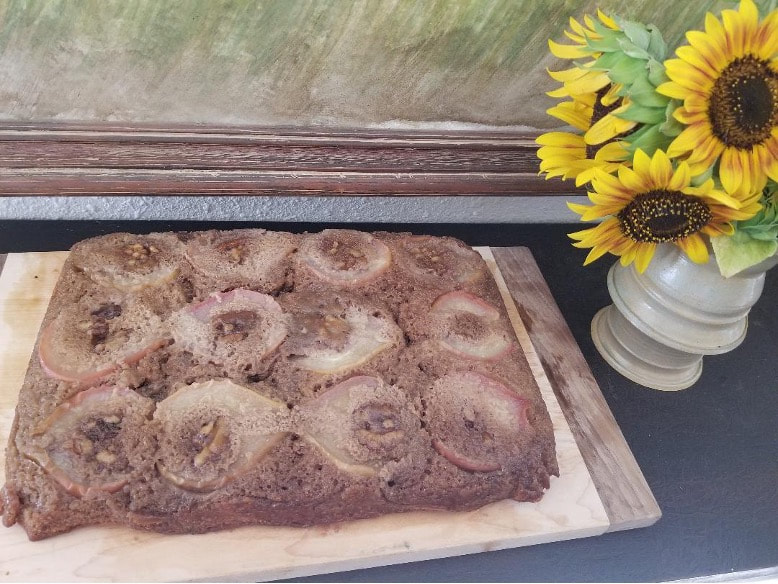
Pear and walnut upside-down cake on a cutting board because I couldn’t locate the platter
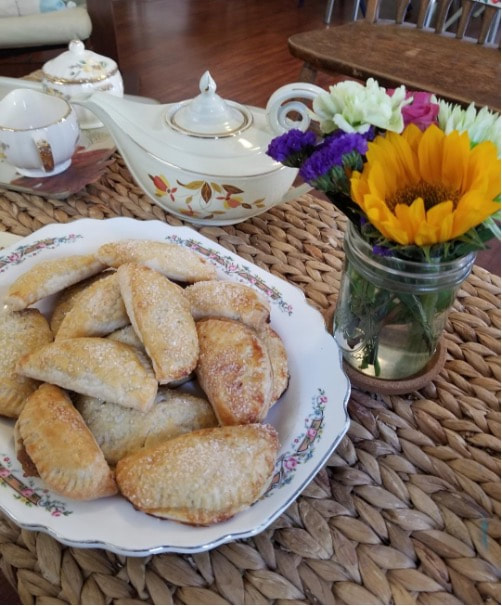
I had in mind. Nodding sunflowers in a hand-thrown vase by Isaac III, beautiful!
I had in mind. Nodding sunflowers in a hand-thrown vase by Isaac III, beautiful!


 RSS Feed