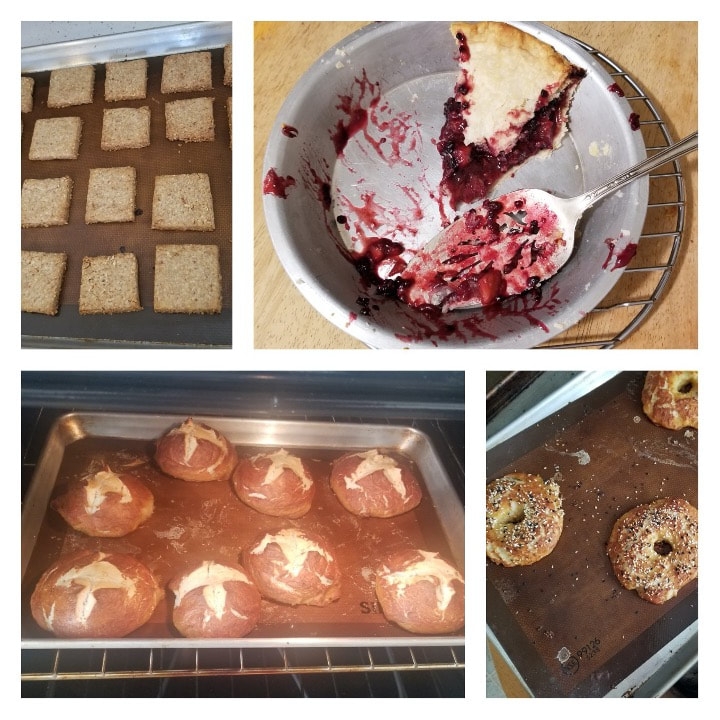
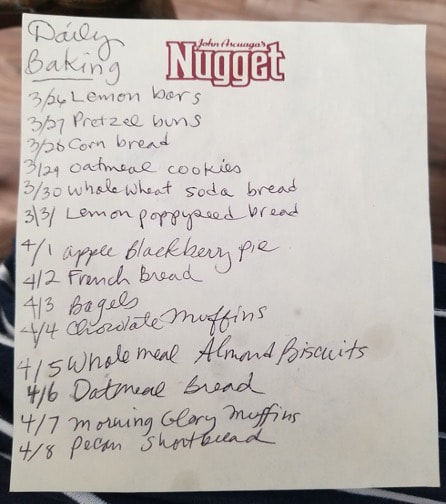
By the time you read this, most of us will have been home for six weeks or more. I am baking. No shocker there: bakers are going to bake. Even non-bakers are jumping in, making cookies, biscuits, or even bread. I spent my two weeks in Happy Valley baking things that ranged in color from beige to chocolate brown to pale yellow to chestnut brown to tan. (The baker’s rainbow?) This is family baking, baking sturdy, healthful, filling foods. One goal was to have my oven on every day, to fill the house with warmth and delicious aromas that amplify the deep-seated feeling of a nurturing home. Nothing fancy, nothing that used up our precious store of butter or nuts. Plain, everyday baking that people may have done in the 1930’s, vaguely Depression-era food, comfort food made from a little flour and other humble pantry items.
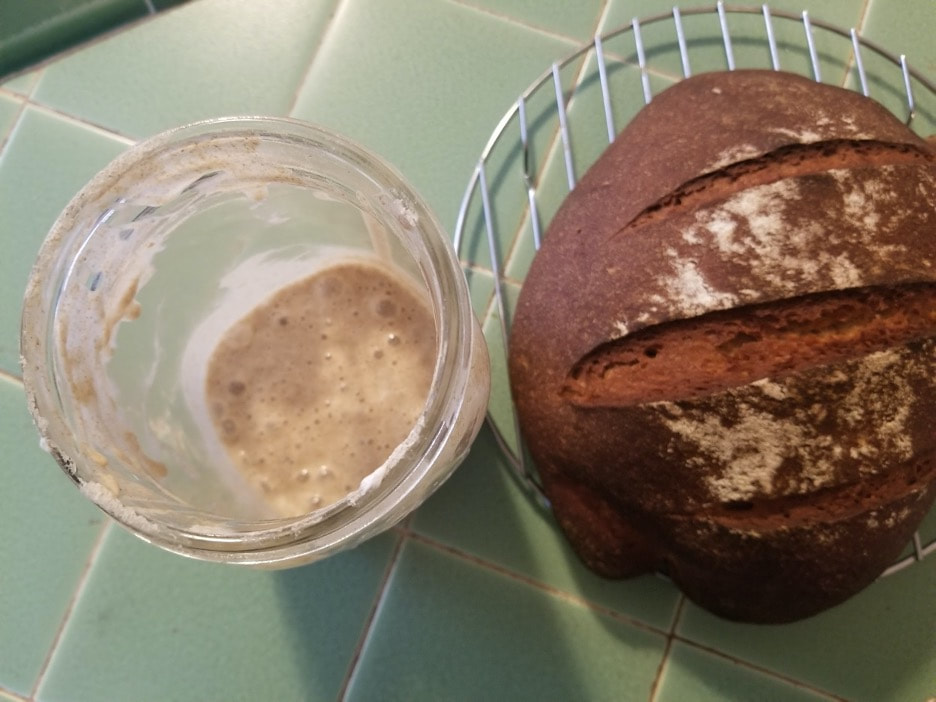
Back in Watsonville, I decided to start a sourdough starter with an ancient bag of rye flour I found in the deep freezer. It seems that rye is a good flour from which to start a culture: I read that somewhere, probably on Pinterest where I dove deep into sourdough starter information. I had bouts with sourdough in the past but didn’t think the sour flavor of the finished dough was worth all the babysitting you have to do to keep the starter well-fed and happy. In California, you can purchase the best sourdough bread in the world so why bother at home? Well, because now we are home all day, every day, so why not play with some wild yeast and see what happens? There’s plenty of time…
A lot of the information I read about sourdough culture was confusing, and some seemed downright contradictory. In working with it for a few weeks now, I am getting somewhat in the groove of its rhythm and understanding a little more how to care for it and how it behaves. After the initial growing of the starter which took about five days, you can either put it in the fridge and deal with it once a week or leave it on the counter and play with it every day.
Basic sourdough culture maintenance, whether daily or weekly, is the same: remove about half the volume, add about equal amounts flour and water, stir, and recap. The starter that you removed can be baked with or tossed out or other creative not-to-go-to-waste methods that can be found in abundance on the internet. Since there’s plenty of time these days, I used the discarded starter to bake most days.
Another relevant idea I learned about baking bread with sourdough starter is that it is not going to be sour right away, and there are ways to manipulate the starter to be more or less sour tasting, to a degree. The basic water used affects taste as in legendary San Francisco sourdough’s reputation as the ultimate. However, La Brea Bakery (in Los Angeles!) is usually cited as the best sourdough in modern times. Talk about a blow for Nor Cal’s ego!
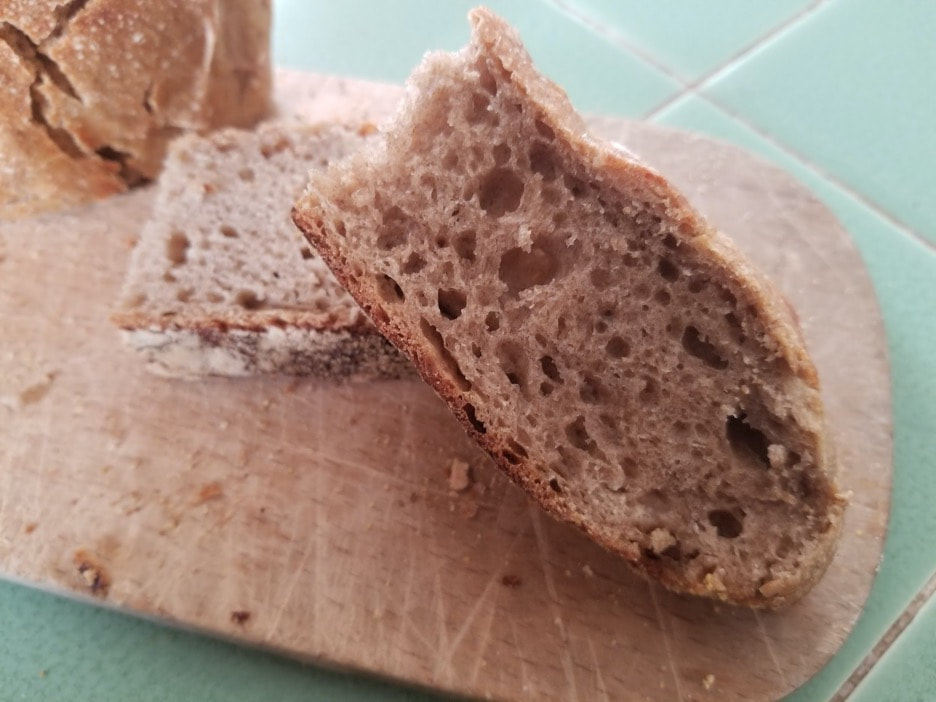
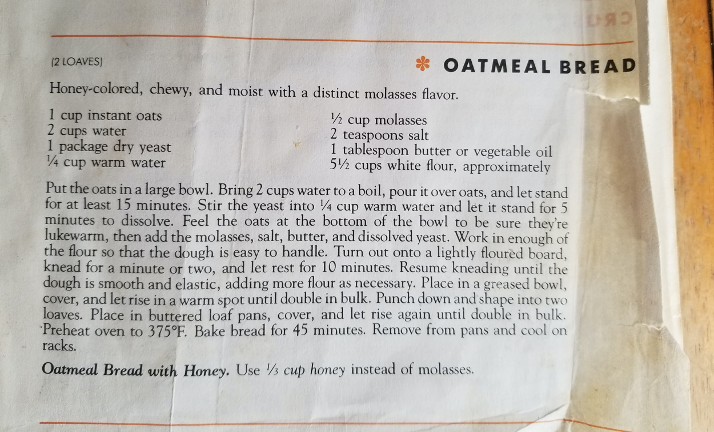
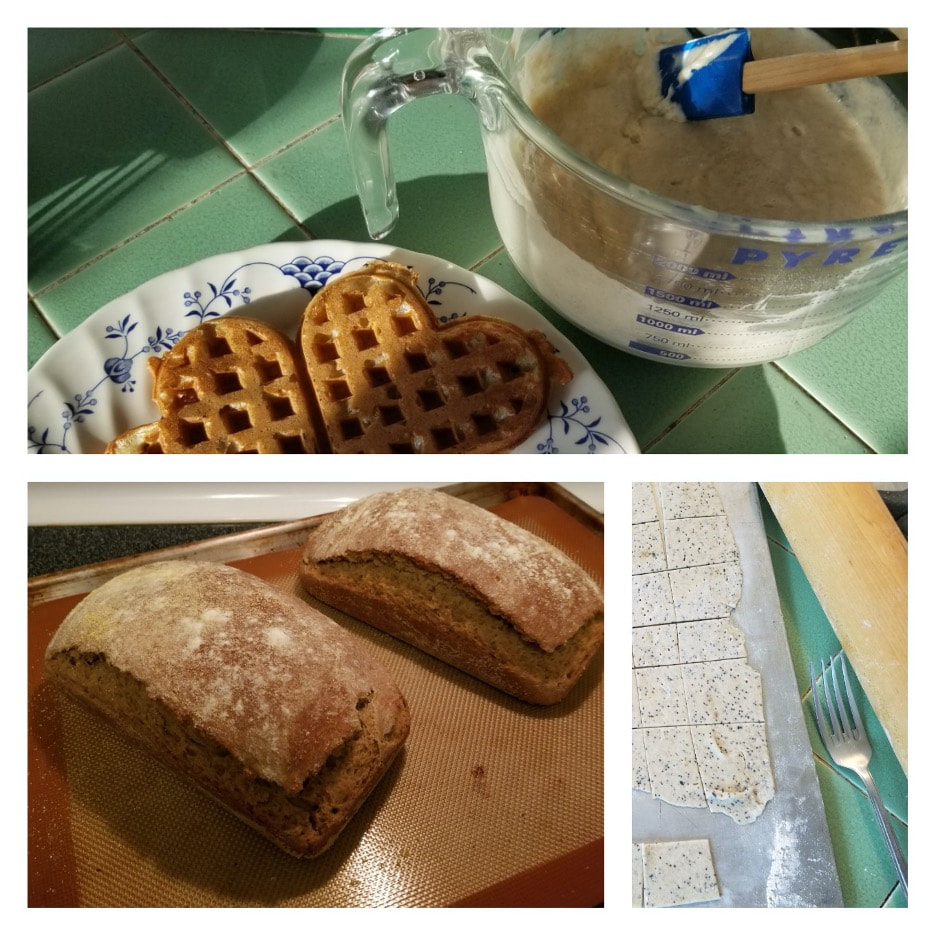
Since we are concerned here with our own starter, we’ll leave the So Cal versus Nor Cal tussle and think about using the not very sour sourdough starter that is in the house. The more neutral nature of the starter suggested that it can be used as the leavener in applications where a pronounced sour taste isn’t desired. From my starter, I made whole wheat bread, crusty rye bread, a sweet honey oatmeal bread, overnight sourdough waffles, and seedy crackers. They all tasted great!
The only remotely sour taste came from the half wheat half rye free-form loaf I made using the very wet, artisan style loaf technique. It has a super long rise which allows the flavors to really develop and creates that hard crust and tender inside crumb that is so satisfying to eat. It is baked in a super pre-heated cast iron lidded Dutch oven, inside the regular oven. I used our 5.5 quart enameled Le Creuset, which worked well.
If you’d like to tinker with your own sourdough starter, here is the one that I used: https://practicalselfreliance.com/rye-sourdough-starter/ . It calls for rye flour and unsweetened pineapple juice, to begin with. I drained a can of crushed pineapple which yielded plenty for the recipe. You can use non-chlorinated water if you don’t have any pineapple juice. If you don’t want to start with rye flour, there are approximately 800 million other sourdough starter recipes to be found on the internet.
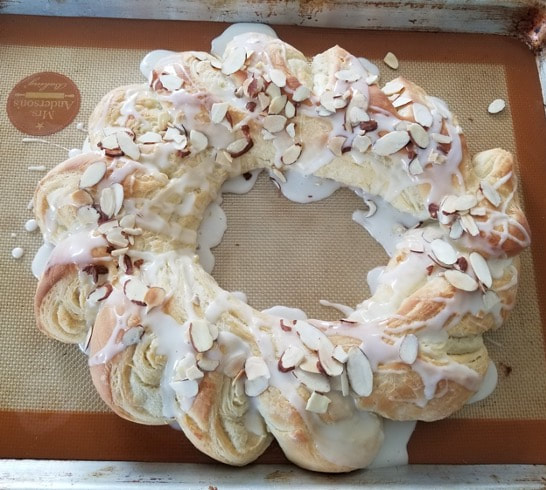
Though I’m spending the majority of time doing the plain, everyday baking, special occasions still arise which call for something special. I baked a version of Rose’s Danish Pastry Easter Wreath for the family’s Easter lunch. That recipe can be found in Rose’s April, 2020 blog here:
https://www.myteaplanner.com/tea-travels---roses-blog
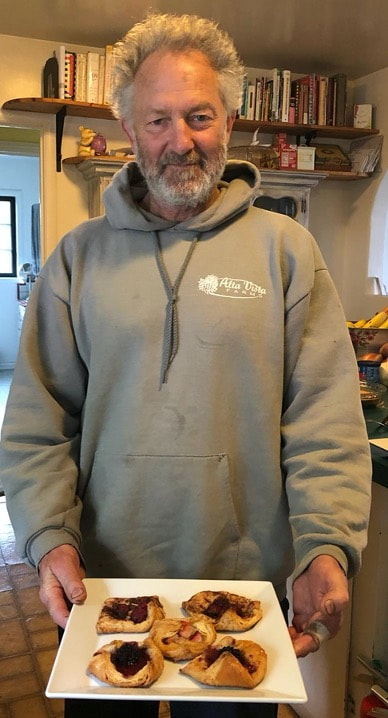
Her recipe makes two large wreaths. I used a third of the dough for a smaller wreath, a third for filled Danish pastries, and gave a third of the dough away to my brother to make some Danish, at his house.
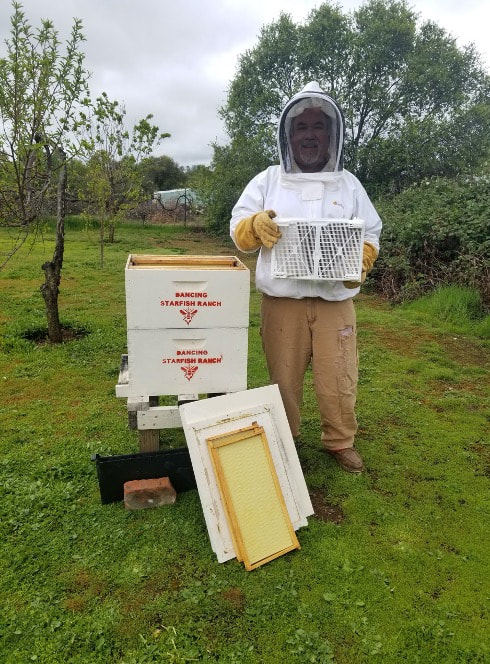
Pre-quarantining in place, I had planned my May blog around this pound cake recipe. I was planning to make it to welcome the new bees to our garden in Happy Valley. It is delicious and quite attractive with its garnish of lavender drizzle and edible spring flowers. I’ve done it here in the purple color family, but it would be stunning in a pink drizzle with dainty pink rose buds. I used my Nordic Ware honeycomb Bundt pan. One of the nice things about this pan, besides how cute it is, is that it still looks neat on the cake pedestal even after being cut into serving pieces. It has 19 wells or “combs” that each makes a self-contained serving.
Preheat oven to 350˚F
Special equipment: mixer bowl, sieve or sifter, stand mixer, spatula, small bowl, medium sized Bundt pan, sprayed with baking spray, table knife, cooling rack, microwave-safe bowl or 2 cup measuring cup, pastry brush
Serves 19, perfectly
Cake:
- 2 ¼ cups flour
- 1/4 teaspoon baking soda
- 1/4 teaspoon salt
- 3/4 cup butter, at room temperature
- 2 cups sugar
- 4 eggs, at room temperature
- 1 egg yolk
- 1/2 cup sour cream or full fat yogurt
- 1/4 cup honey
- 1 ½ teaspoons vanilla
- Honey glaze:
- ¼ cup honey
- ¼ cup sugar
- ½ cup water
- 1 ½ cups powdered sugar
- 3 to 4 tablespoons water or milk
- Gel or liquid food color
- Spring edible flowers in the purple and lavender family: wisteria, violets, violas, pansies, sweet alyssum (Unfortunately, lily of the valley are toxic.)
- Cake: Stir together flour, baking soda, and salt. Sift or sieve and set aside.
- In mixer bowl, beat butter and sugar together, scraping down sides as needed. Beat until light and fluffy, about 5 minutes. Add eggs, one at a time, beating after each addition. Beat in yolk.
- In small bowl, stir together sour cream, honey, and vanilla.
- Into butter sugar mixture, stir in flour mixture, alternating with sour cream mixture, just until combined. Scrape bottom of bowl, making sure batter is smooth.
- Turn into prepared pan and bake for 35-40 minutes or until tester comes out clean. Cool on rack, in pan for 15 minutes. Loosen cake edges with table knife and turn out on cooling rack. Make honey glaze.
- Glaze: In microwave-safe bowl or 2 cup measuring cup, stir honey, sugar, and water. Microwave on high for 1 to 2 minutes, stirring every 30 seconds. Cook until mixture is boiling and thickened. Brush glaze over cake, letting it soak in. Leave cake on rack to cool completely. Chill cake for at least 30 minutes or until ready to proceed. Transfer carefully to serving platter. (The cake is much easier to handle when chilled.)
- Drizzle: In a small bowl, stir powdered sugar with enough water to make a thick glaze. Stir in a few drops of food color to make a pleasing lavender color. Spoon drizzle around edge of cake and around each section, as seen in photograph, letting it drip a bit down the sides. While drizzle is still wet, place some edible flowers on cake top. The cake is best served the day it is made so the flowers will still look fresh. For longer storage, remove flowers from cake top, wrap in plastic wrap and store at room temperature for up to four days. Can be frozen up to a month, if tightly wrapped.



 RSS Feed