
Santa Cruz, California

Menu
Salmon Mousse in Toast Boxes
Beet-Pickled Deviled Eggs
Chutney Cheese Spread on Country Rye and Baguette
Cucumber Sandwiches
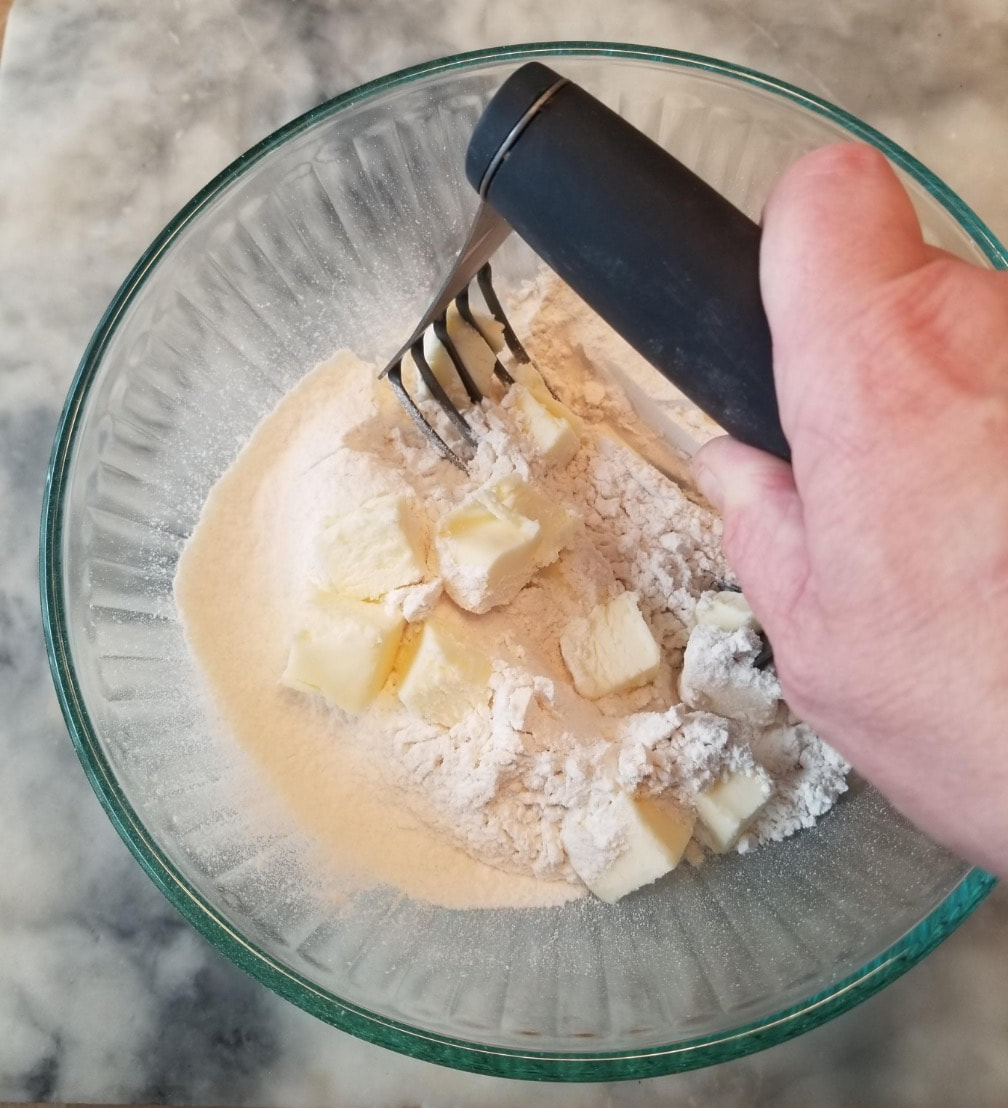
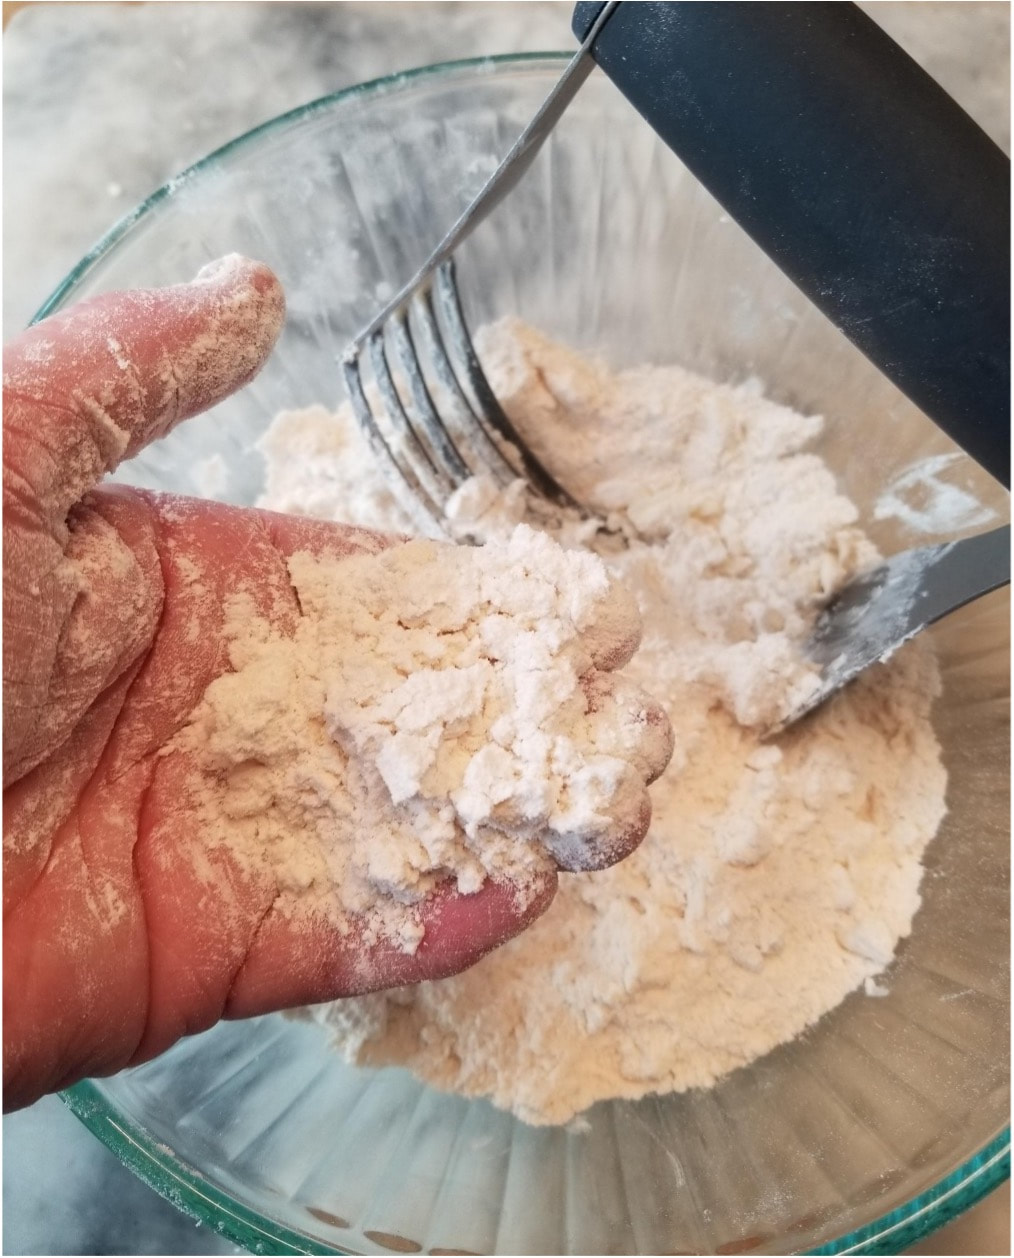
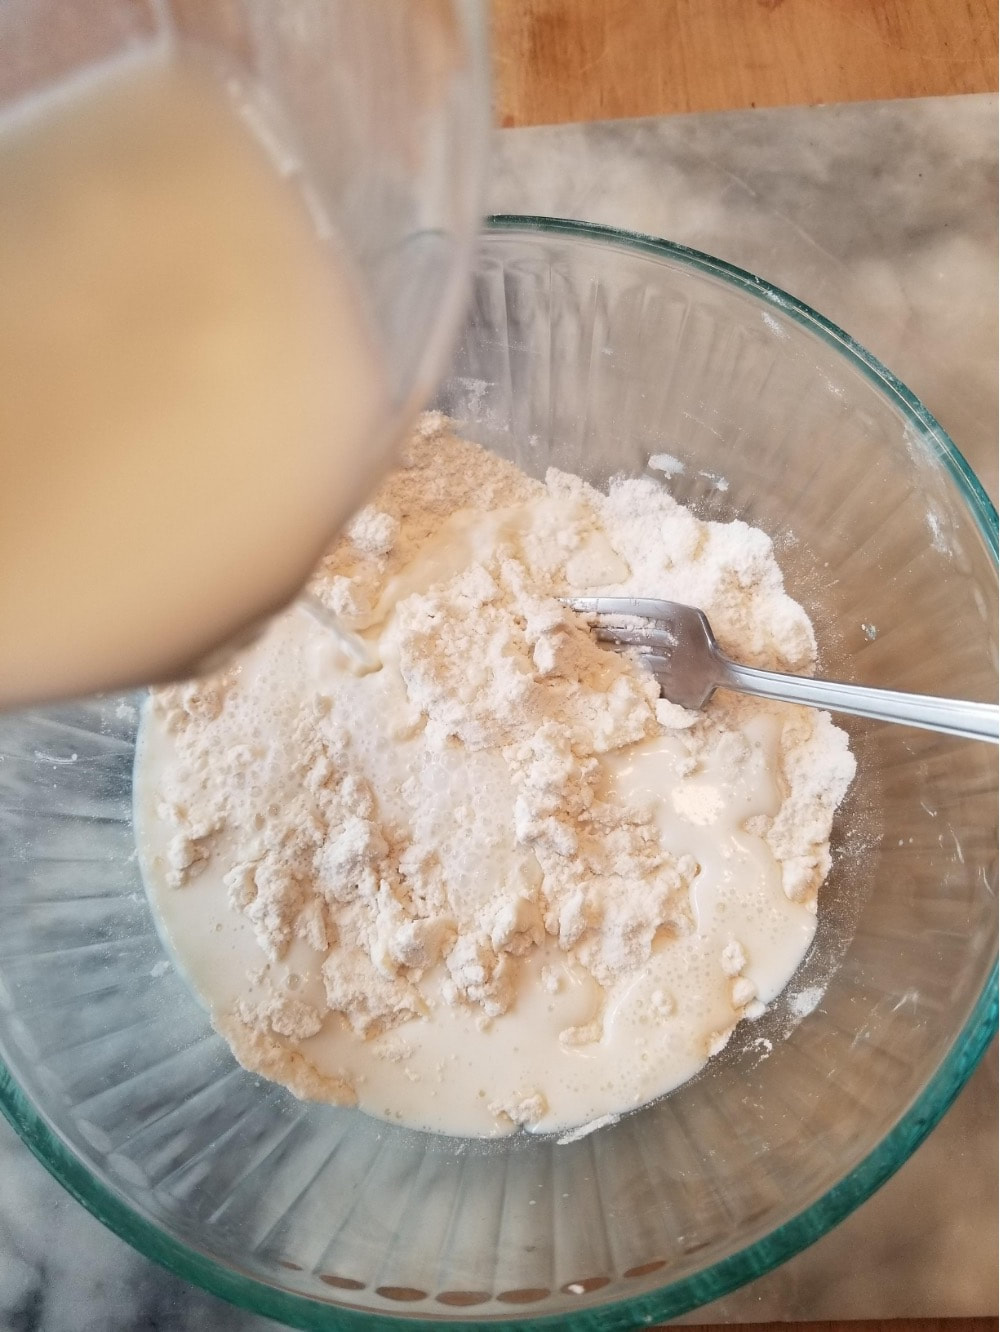
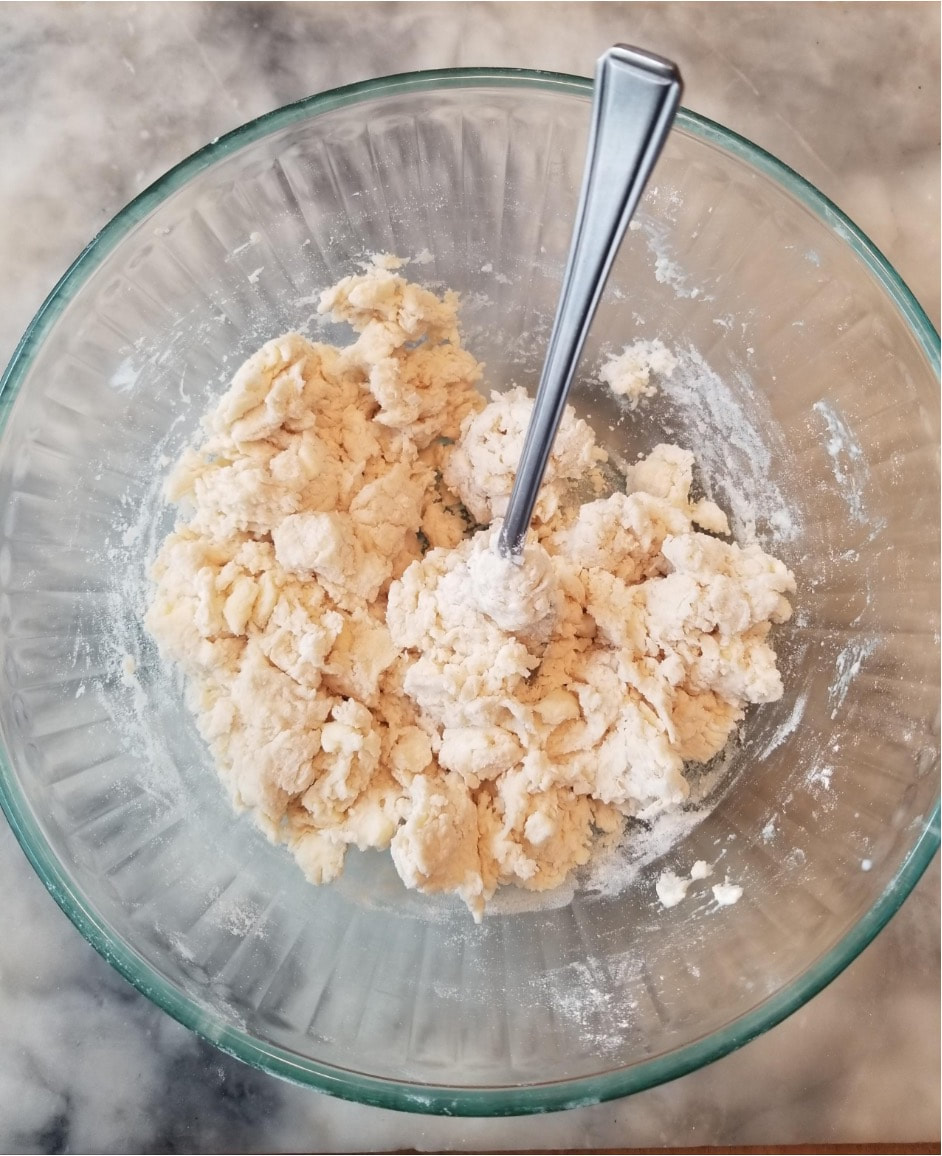
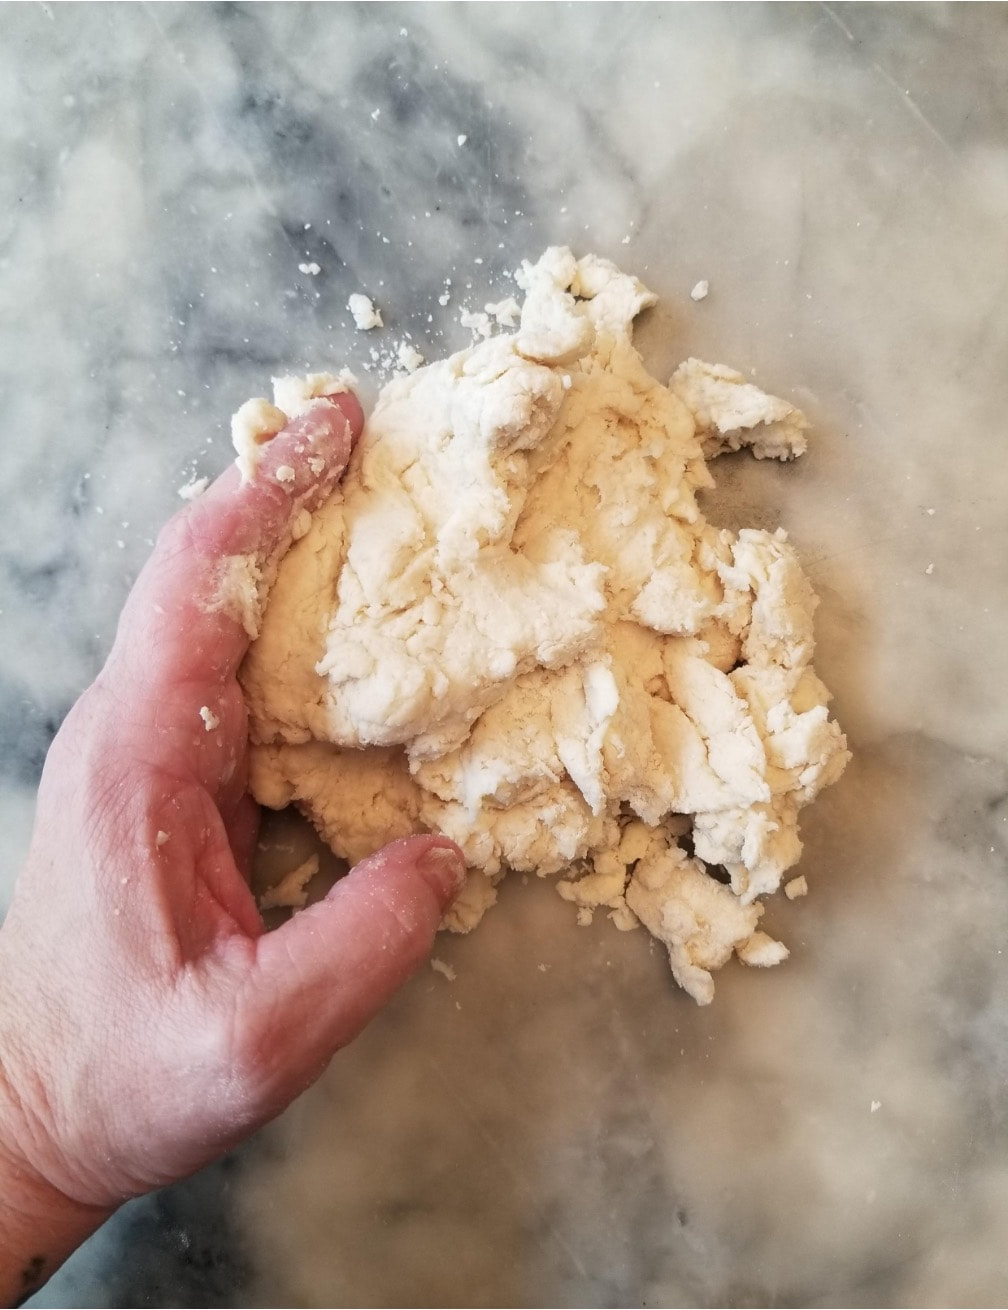
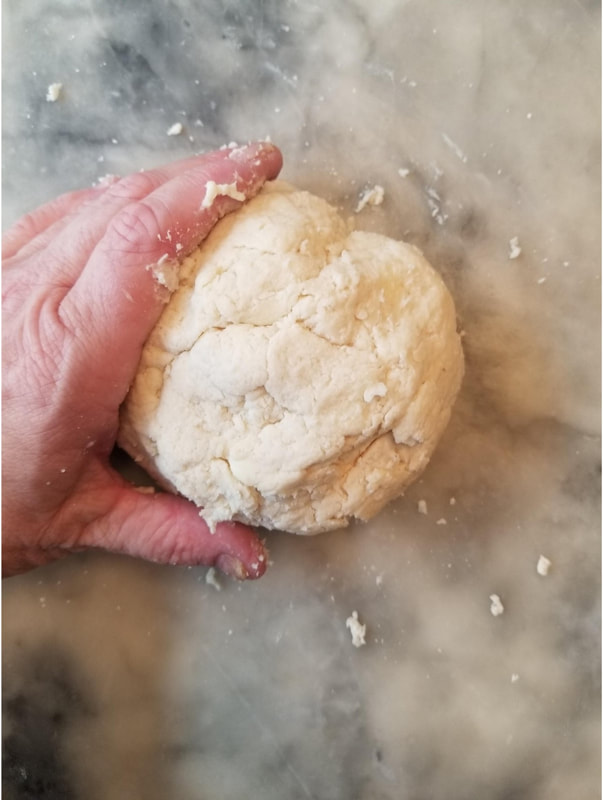
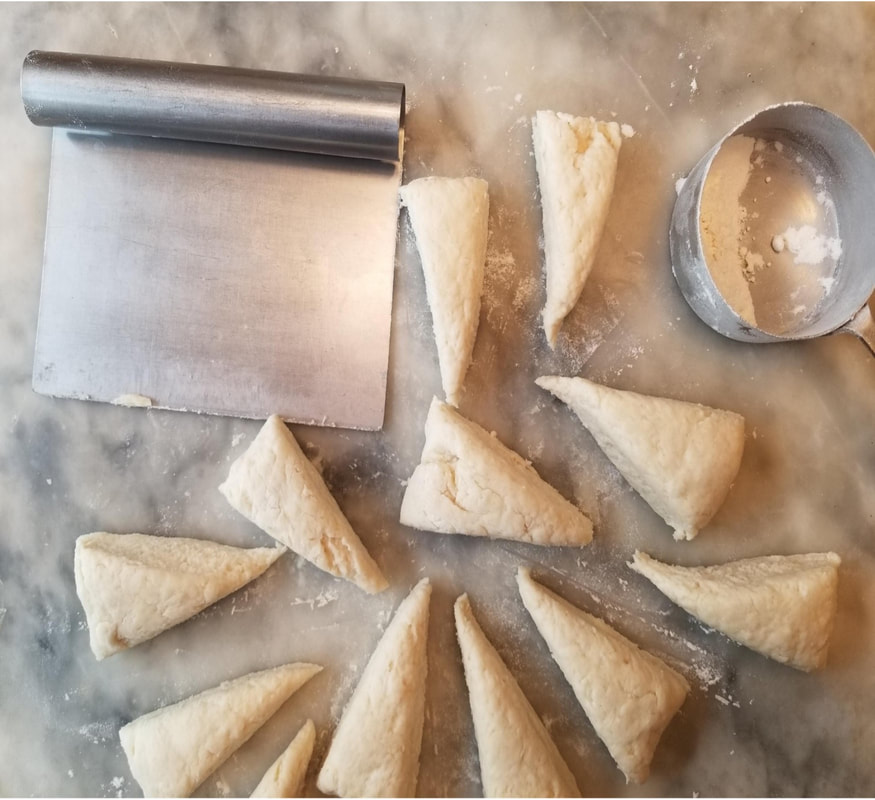
Scones with Organic Lemon Curd
Neapolitan Biscotti ◊ French Macarons
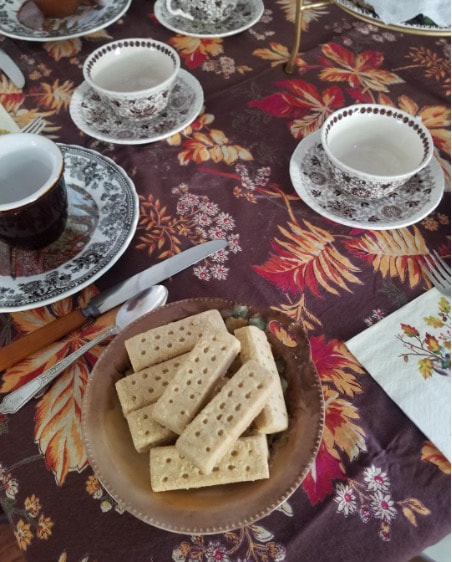
Blood Orange Poppy Seed Shortbread
Pink Grapefruit Pie
Spring Pistachio Cakes
Champagne ◊ Black Tea


 RSS Feed