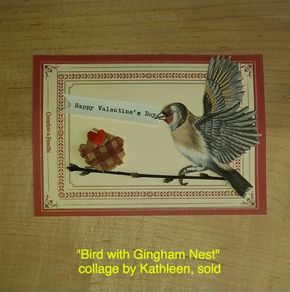
I, however, though single for many, many, years, have always loved Valentine's Day. My father set a loving example every year with a potted heather plant or gardenia for my mother and a pound of See's candy, the favorite of the whole family. One year, he bought the family a heart-shaped waffle iron which started a tradition of waffles on many Sundays and every Valentine’s Day. My grandmother, Lady, sent cards to all us grandchildren for Valentine’s Day as well as every other holiday. (My brother and I even received cards for Japanese Boys Day, since three-fifths of the grandchildren were Japanese-American boys!)
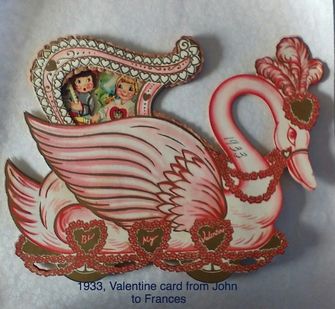
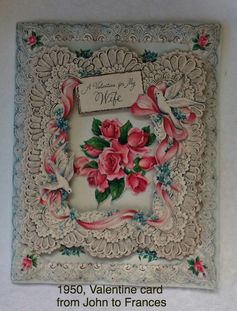
In my storage, there is an old cardboard box I take out each year in February. It is filled with 67 years’ worth of Valentine’s Day cards from my great-grandfather to my great-grandmother. She carefully wrote the year on each card. They reflect the era of store-bought cards in which they were purchased. Looking at them in order from 1916 to 1983, you can see how styles changed. They are all lovely in themselves and they are consistent in expressing his love for her. She must have cherished them immensely.
I’ve heard a variety of reasons why people shun the day, from “love should be celebrated every day” to “it’s a Hallmark holiday” to “it’s too commercial.” Most of these sentiments seems to come from one particular gender, ahem. It is understandable that some people feel pressured and some people may have unrealistic expectations.
One answer is to expand the celebration beyond couples to a larger circle of family, friends, and even the community. Like family waffle breakfast, traditions can evolve organically. Though flowers and candy may be presented as standard, by no means are they mandatory.
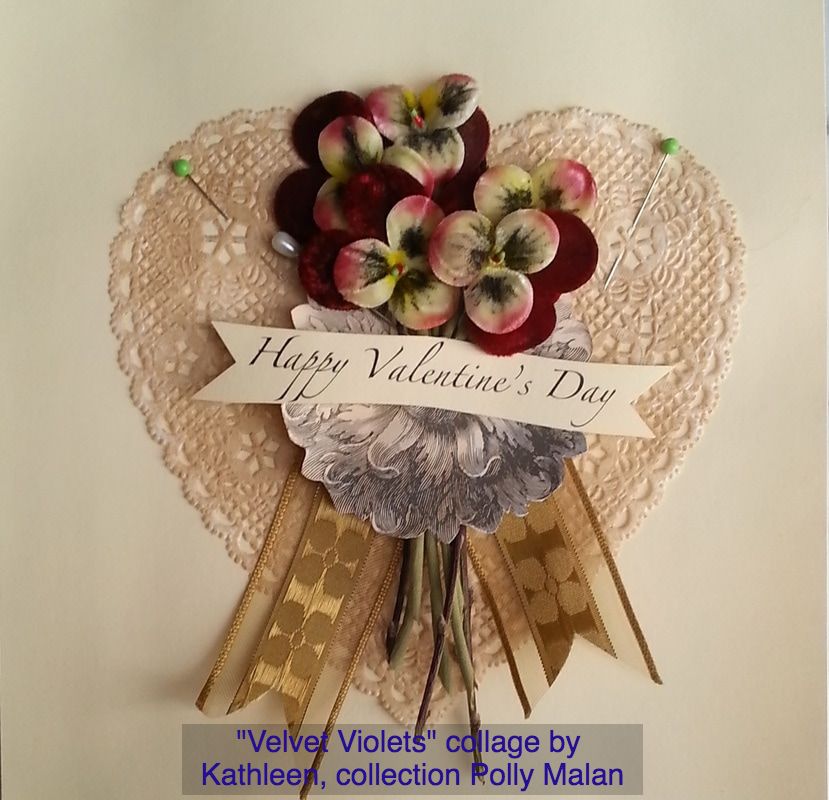
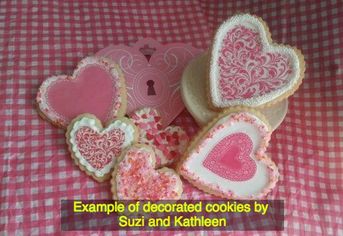
Being an artist and a baker, I’ve hosted Valentine’s Day card-making afternoons and cookie decorating classes. These events are attended by singles, couples, girlfriends and mothers and daughters. The being together part is the part that makes it magical.
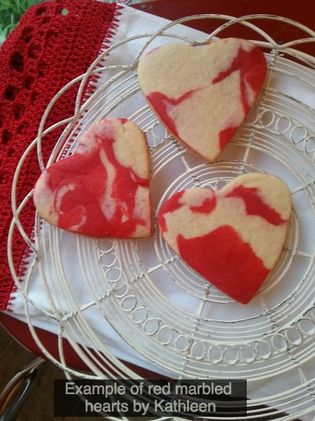
Though my baking partner, Suzi, and I indulge in elaborate decorated cookies, (many with edible wafer paper designs from Fancy Flours, in Bozeman, Montana,) simple sugar cookies are always a fun project to share. Nowadays, colored icing and decorating sugars are available in large super markets, making decorating and clean up easy. If you don’t even want to mess with any icing, our marbled heart cookies are striking without any adornment. We are happy to share our recipe with you below.
For those of you who might need just a little more inspiration, take a look at our February Valentine’s Day Tea menu right here on myteaplanner.com. Happy Valentine’s Day!
- 4 cups flour, plus more for dusting
- 1 teaspoon baking powder
- ½ teaspoon salt
- 1 cup (2 sticks) butter, softened
- 2 cups sugar
- 2 eggs
- 2 teaspoons vanilla extract or vanilla bean paste
Makes: 3 to 4 dozen or more, depending on size of cutters used
Preheat oven to 325 degrees F in step #3
- Set sifter or sieve in a large mixing bowl. Combine flour, baking powder, and salt, sifting all together. Set aside.
- In mixer bowl, beat butter and sugar on medium speed until well blended, scraping sides of bowl as needed. Beat in eggs and vanilla. On low speed, mix in dry ingredients in three batches until all flour is well incorporated. Divide dough into two or three parts and flatten into disks. Wrap each in waxed paper or plastic wrap. Chill until firm, at least one hour or up to two days.
- Preheat oven to 325 degrees F. Working with one disk of dough at a time, roll out on lightly floured work surface to a thickness of just under one-quarter inch. Cut with cookie cutters and transfer to prepared baking sheets. Reroll scraps as necessary. Repeat with remaining dough.
- Bake cookies just until beginning to turn golden brown, about 10-12 minutes. Depending on your oven, it is a good idea to rotate baking sheets between racks halfway through baking time. Let cool on racks.
| Marbled Sugar Cookie Variation After flour has been mixed in, remove about two-thirds of the dough to work surface. This will be the white dough. To remaining dough in mixer bowl, add 2 ounces melted chocolate or enough red gel paste to color dough a nice red. Mix until dough is a uniform chocolate color or red color. Break off pieces of the white dough and set along side smaller pieces of colored dough on work surface. Flatten into disks, wrap in waxed paper or plastic wrap and chill. Repeat with remaining dough. Roll out as described in step #3, brushing off excess flour before baking. When refilling scraps, make sure colored and white dough don’t get too smooshed together. Cut out and bake as described in recipe above. |

 RSS Feed