Whatever else may be happening in the greater world, we are going to want pie when the weather turns cool. And every other time of year, true, but pie baking has a special allure in the fall: nuts and fruits are being harvested, autumn and winter food traditions will call for pies. Or Wednesdays and Sundays and birthdays and when the apples are in and when someone just mentions pie. We like pie.
Pie crust can seem daunting. It is a skill comprised of many seemingly difficult components. Otherwise confident bakers cower at the thought of a homemade pie crust. I let the thought of making crust needle me for years until I set myself the challenge of learning once and for all to master the pie crust.
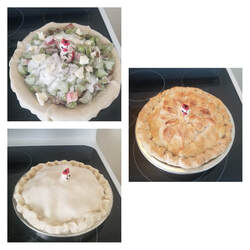
Three stages of rhubarb pie with my old pie bird doing the venting
I began by deciding to make six crusts in a row, noticing what worked and what could be improved on, in each one. The first hurdle was getting a recipe that balanced taste with ease of use. An all butter crust tastes the best but adding shortening or lard increases flakiness. Crusts containing all shortening are the easiest to work with but lack the deliciousness that real butter provides. I settled on a ⅔ butter and ⅓ shortening or lard as the fats in my crust recipe.
An apple pie with pie bird and syrupy juice oozing out
Temperature is the next factor to consider when making pie crust. The fats should all be cold, as should the water. Chilling the dough before rolling out helps relax the gluten and keep the crust tender. Mixing the fats into the flour can be done with fingertips, with a specialized tool called a pastry blender, or a food processor. Old cookbooks recommend using “two table knives, scissor fashion” which may work for some bakers but seems to me like a messy, laborious method. I either use a pastry blender in a large mixing bowl or combine the flour and fat in the food processor. The food processor works wonderfully, the caveat being you must stop when the ingredients are still in fairly large pieces. Overprocessing will make the finished crust lose flakiness. If I do use the food processor, I briefly process the flour and salt before adding chunks of the cold fats in about three additions, pulsing between additions just until the mixture is the size of peas. I then pour the pea-sized chunks into a large mixing bowl, ready to add the ice water by tablespoons. I mix the water into the flour mixture with a big fork, careful to use a light touch, keeping the mixture airy. To test if there is enough water in the pie dough, squeeze a handful of crumbs together. If the crumbs stick together in a clump, there is enough water in the dough. If it is still crumbly, add more ice water, a little bit at a time, until it does clump together. The reason pie dough recipes call for a range of water amounts is that humidity affects the moisture in the flour and different fats are composed of different ratios of water to fat.
Gather the shaggy, crumbly dough into a lump. On a piece of plastic wrap, place half of the dough. Gently pat the mass into a rectangle and wrap the plastic around the dough. Chill for about 20 minutes. Repeat with the remaining dough.
Berry and peach galette
After the dough rests in the fridge, the next piece of the pie dough puzzle is the rolling out. Trying to keep the dough cool, it is traditionally recommended the dough be rolled out on a slab of marble. My mother had a piece of gray marble leftover from someone’s counter installation that she always used. Slabs are available in kitchen stores or on Amazon. The kitchen table or a large cutting board is fine, though rolling dough out on tile is a sticky business. Suzi has a large silicone mat that works well, placed over her tile countertop. (In cookbook lingo, the flat surface you work on is called the “bench.”)
Rolling out my six pie crusts in a row was the most instructive portion of the lesson. Part of what feeds a baker’s insecurity around pie dough is that it is infrequently done so everything learned may be forgotten between pie crust making sessions. To cement my own newly acquired pie crust knowledge, the next week I taught a friend to make pie dough using the same six batch method. Though the fall and winter are referred to as prime pie making time, all four seasons present opportunities to keep your pie making skills fresh. Open faced tarts and galettes use only one pie crust and can showcase spring and summer stone fruits and berries. Chocolate pie is welcome at any time of year.
Fresh fruit tart with pastry cream and violas

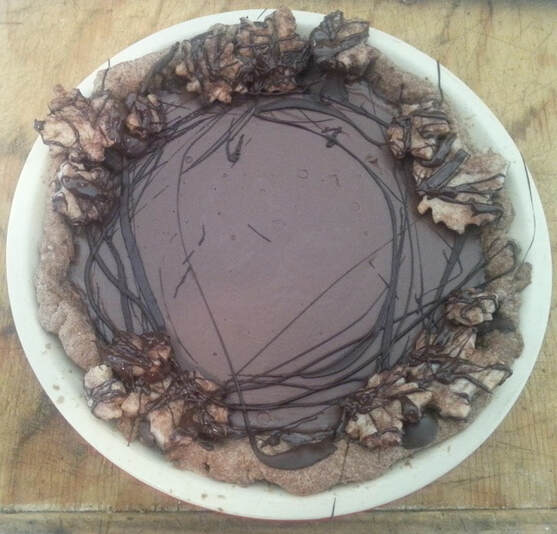
Top: almond tart, bottom: chocolate pie, dressed up for Thanksgiving
When ready to roll out the bottom crust, take out one rectangle of chilled dough and let rest five minutes. Generously flour your bench and rolling pin. Keep picking up the dough and rotating it, making sure it is not sticking. A handy tool to use is a long, thin, metal cake spatula that can be passed under the expanding pie crust, to help rotate and turn the crust. Rolling from the center toward the outer edge is helpful to not stretch the dough unnecessarily. When the crust is about ⅛ inch thick and a few inches larger than your pie pan, it can be placed in the pan and chilled until it is filled and the top crust has been rolled. Or, it can be placed between two pieces of waxed paper or parchment and stored in the refrigerator while you roll out your next five crusts.
If you are ready to continue with the pie baking, repeat the rolling out process with the top crust. I love using the old fashioned pie bird simply because they are so cute. Slashing vents in the top crust or using a lattice top will do the same job. If using a pie bird, set it in the center of the crust-lined pie dish. Pour the filling around the pie bird. If not using a pie bird, simply fill with the filling. Center the top crust over the pie dish. Many recipes advise you to trim the overhanging dough before sealing the top and bottom crusts and crimping a decorative edge. I mostly followed that advice until I was assisting in a pie class several years ago. The instructor was questioned as to why she had not trimmed the dough, just tucking it in, making a relatively thick and deep edge. She replied that most people love the crust edge and why not have more rather than less? The class was aghast and we all decided that she was right. Since then, I usually indulge the crust lovers and do only a minimal trim, if any.
Pie dough rolling gear, from left to right: pastry blender, bench scraper, metal spatula, rolling pin, on a marble slab. The bench scraper is a versatile tool that not only helps with chopping and transferring vegetables from cutting board to bowl, it is very helpful in scraping the bench clean after you are through rolling out the crusts.
When ready to bake, use a pastry brush to paint the top crust with egg wash or cream. Sprinkle with sugar to help with browning. Most double crust pies bake in a hot oven for ten or fifteen minutes then the oven temperature is turned down to 350 degrees F for the remainder of the baking.
Keep a close eye on the baking time and begin looking for signs that the pie is done 10 minutes before the recipe recommends. The most reliable sign that the pie is done is that the juice that seeps out has thickened to a thicker, more syrupy consistency. If you are using a glass pie dish, carefully peek at the bottom crust, through the glass. If it looks browned, the pie is done. If the edges of the pie are browning too quickly, place some strips of aluminum foil around the edges.
 |  |
Different rolling pin styles and a berry pie drawing with lattice crust
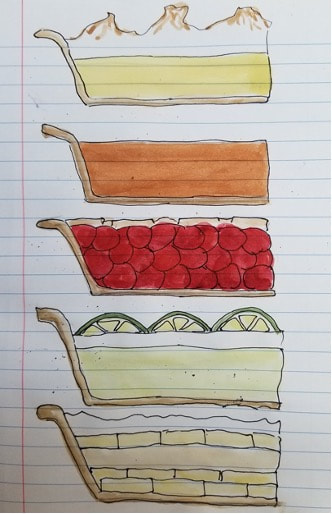
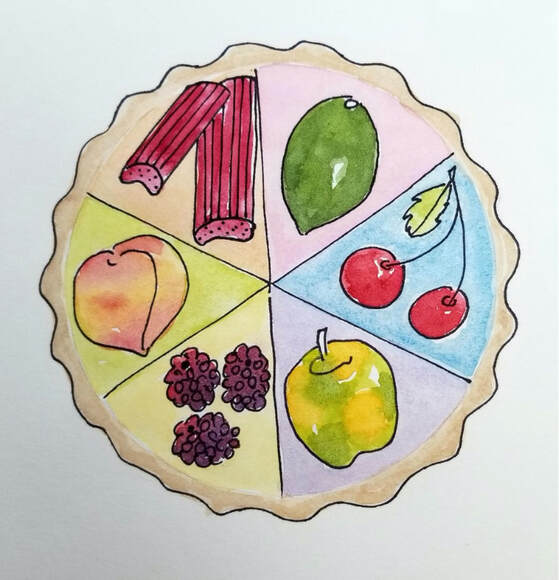
A few of our favorite pies; can you name them all?
Basic Pie Dough for a 9” Double crust Pie
Adapted from Marion Cunningham’s The Fannie Farmer Cookbook
Special equipment: large bowl, pastry blender, fork, plastic wrap, rolling pin, 9” pie dish, pastry brush
Optional but recommended equipment: pastry marble, long metal spatula, bench scraper, pie bird
- 2 ½ cups flour
- ½ teaspoon salt
- ½ cup cold butter, cut into tablespoon sized pieces
- ¼ cup shortening or lard
- 6-7 tablespoons cold water
- In a large bowl, blend flour and salt. Cut in butter until pieces resemble peas. Cut in shortening or lard..
- Using a fork, add cold water a tablespoon at a time until crumbs hold together when squeezed in your hand. Pat dough into a lump.
- Place two pieces of plastic wrap on your work surface. Divide the dough lump into two halves, place each onto plastic wrap. Pat each into a rough rectangle and fold in sides of plastic wrap. Chill for 20 minutes or until ready to make a pie. For longer storage, wrap in additional plastic wrap, place in a zip-top freezer bag and freeze for up to a month. Let thaw overnight in the refrigerator.

Photo courtesy Pillsbury
Rum, Raisin, and Pecan Pie
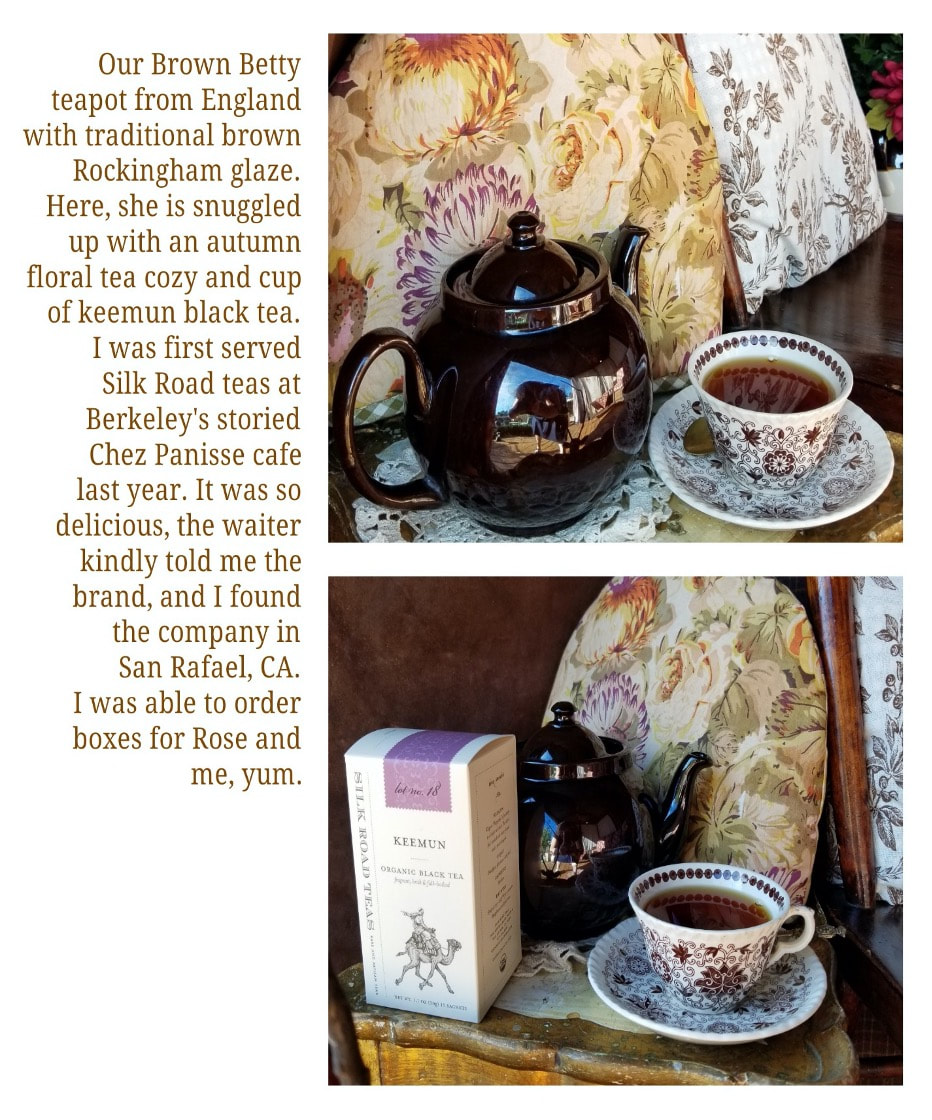
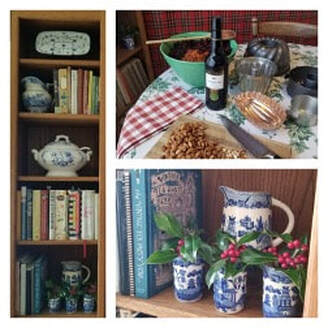
This is a wonderful recipe from my favorite tea cookbook, Teatime Celebrations by Patricia Gentry. Back in the 1990’s, Suzi and I were on a historic homes tour in Old Monterey, California. In one of the houses, local caterer Patricia Gentry was graciously signing copies of her cookbook. I’m so glad I purchased one of the books because it turned out to be my go-to resource for not only lovely menu ideas for tea menus but also solid recipes for tea staples like lemon curd, creme anglaise, and pound cake. I revisit the book whenever I’m starting a new catering or tea project, to see what Patricia has to say about it. Recipes from caterers tend to be reliable, well-tested, and appropriate for making ahead of time. Her book may still be available online and is well worth hunting down.
Preheat oven to 425 degrees F
Special equipment: medium saucepan, wooden spoon, large bowl, whisk, silicone spatula, 9” pie pan, cooling rack
Makes 1 9 inch pie
- 1 ½ cups sugar
- 1 cup raisins
- ¾ cup half and half
- ½ cup butter
- 6 egg yolks
- 11/2 cups coarsely chopped pecans
- 2 tablespoons dark rum
- 1 tablespoon fresh lemon juice
- 1 ½ teaspoons vanilla
- ¼ teaspoon salt
- 1 unbaked pie shell, 9” (use half of above pie dough recipe)
- In a medium saucepan, combine sugar, raisins, half and half, and butter. Brink to a boil over medium heat. Reduce heat to low and simmer for 2 minutes, stirring frequently. Remove from heat and cool slightly
- In a large bowl, whisk egg yolks lightly, then beat in hot sugar mixture. Stir in pecans, rum, lemon juice, vanilla, and salt.
- Pour filling into the prepared pie shell. Bake for 15 minutes, then reduce temperature to 375 degrees F and continue baking until puffed and golden, about 40 to 45 minutes. Remove from the oven and cool for 30 to 60 minutes. If made ahead, pie may be rewarmed in a 325 degree F oven for about 10 minutes. The pie travels very well and keeps, tightly wrapped at room temperature for several days.
Variations: the pecans may be swapped out for almonds, walnuts, or macadamia nuts.
 RSS Feed